Since moving into our home we hadn’t really done an serious changes or renovations. In part because we’re (I’m) a little indecisive, but also because it’s a little daunting. when we analyze everything we want to do we quickly snowball into more projects than we have time to tackle. As a result we stalled out for a while there, but last year I decided to pick our first room make over, a much needed Office Update for 2022.
Decluttering
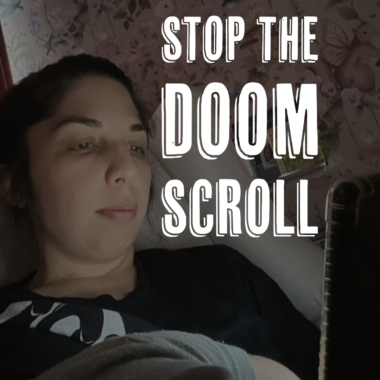
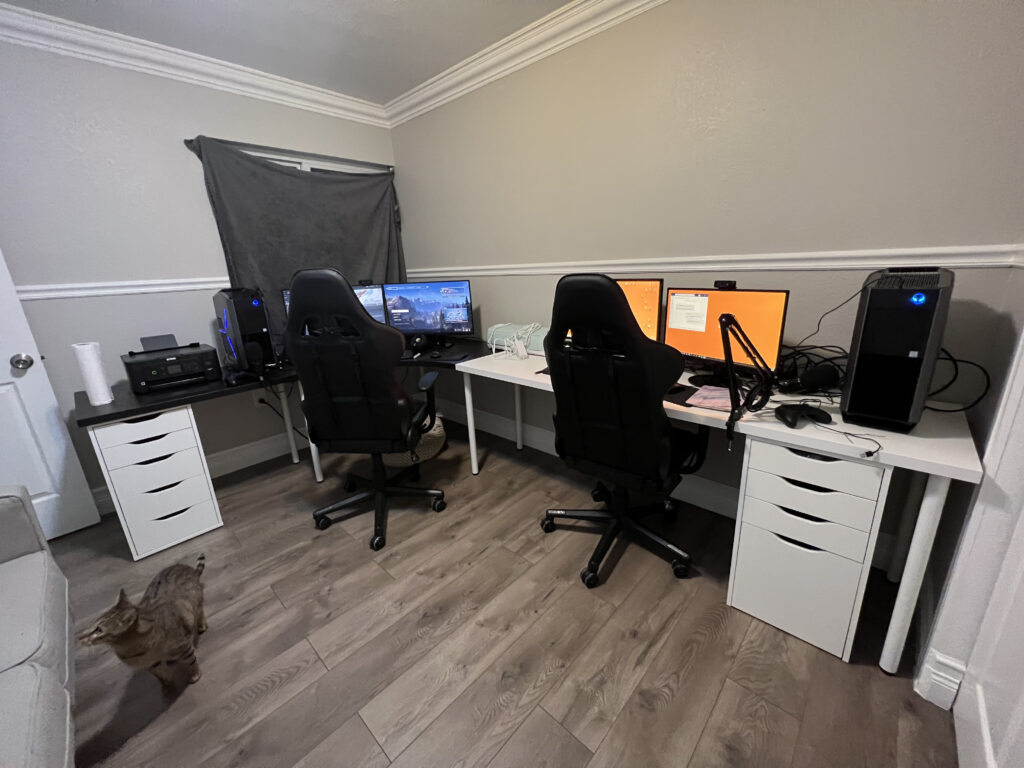
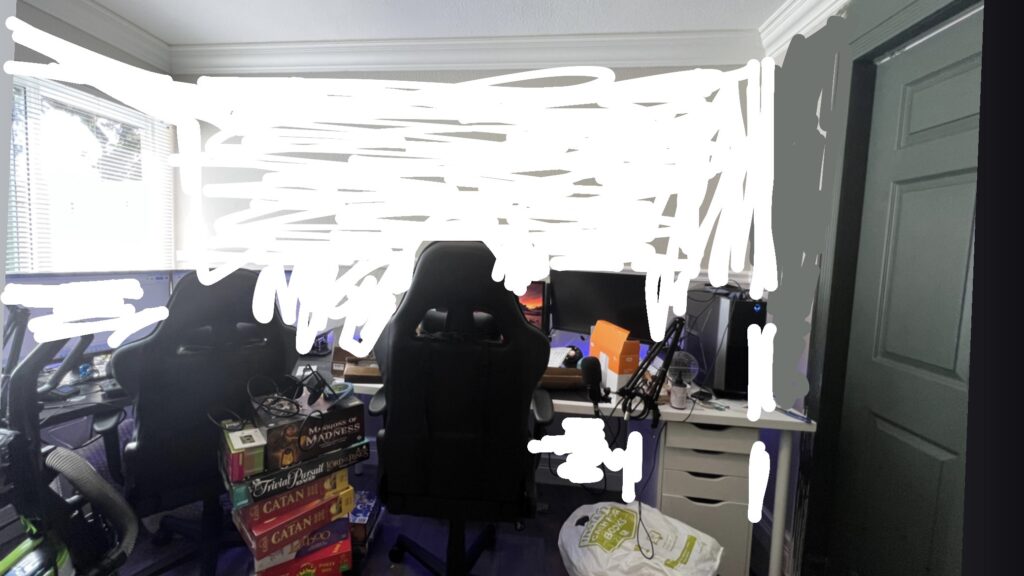
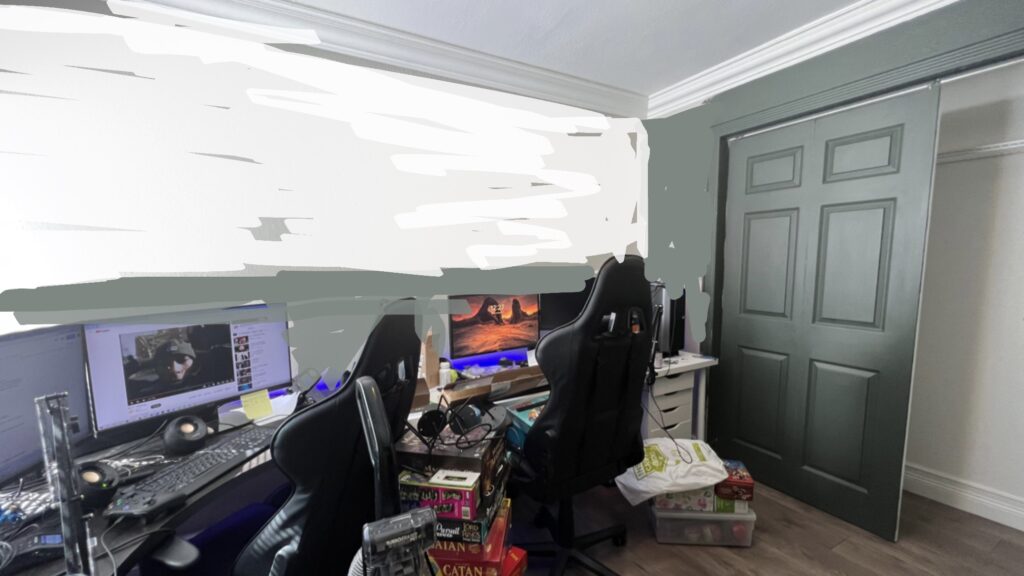
Picking the Office as our first projected ended up happening by chance. The Office kept becoming a catch all room. Especially after we made a trip to pick up some of the equipment we had left at our old office space. As a result the clutter was making it hard to shoot videos and hard for Freddy to concentrate and work. I felt like the cluttered space led to a cluttered mind.
So part of the Office Update included decluttering. We used to have a small couch in the room incase we wanted to shoot videos seated together there but realized that we never used it. Instead it was catching a bunch of stuff that we hadn’t found a home for yet. The couch had to go, as a result everything on it needed to find a home.
We stored things in clear plastic bins, different sizes accommodating different needs. Some boxes hold photography equipment, others hold costumes and cosplays. Basically though each Bin holds a “theme” of things. Whether it be electric cables, or my LED light kit everything found a home.
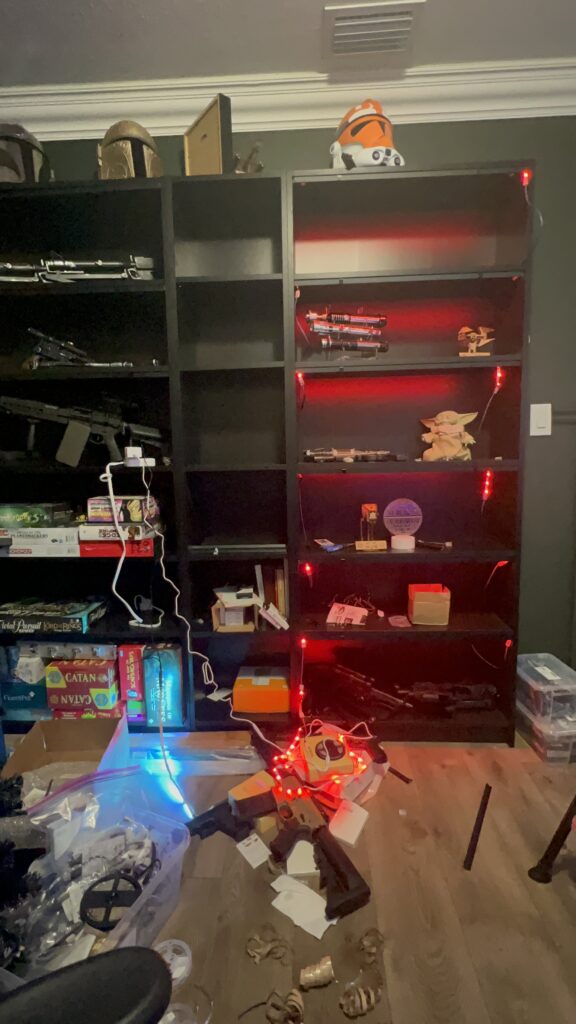
Where we started this project 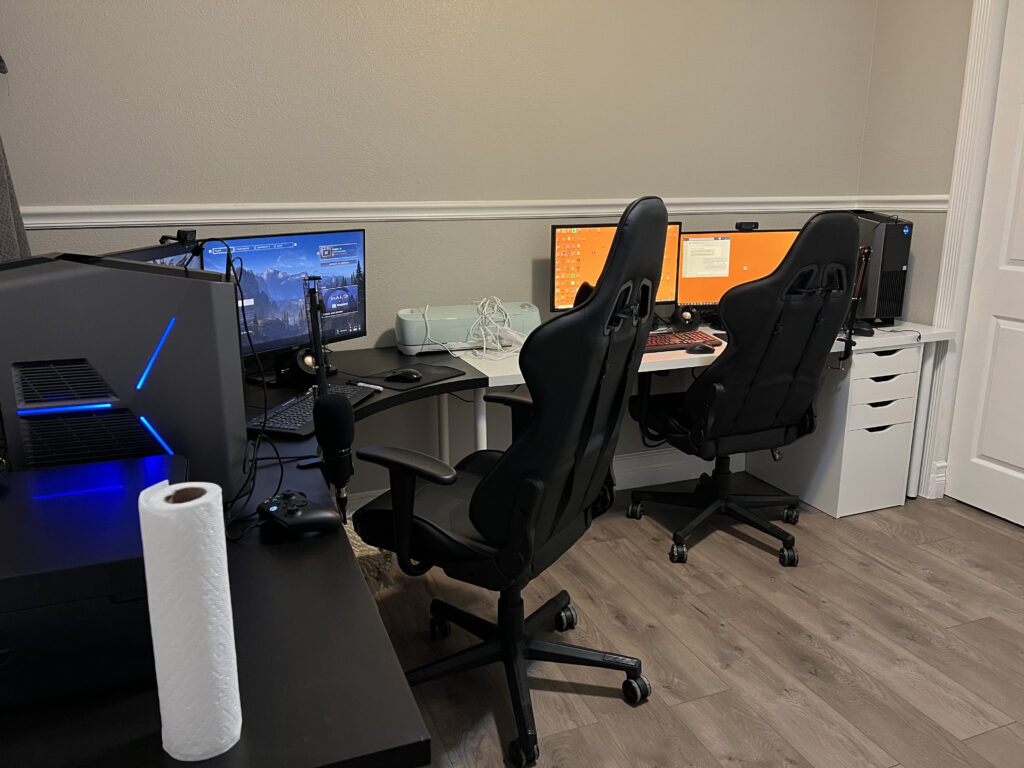
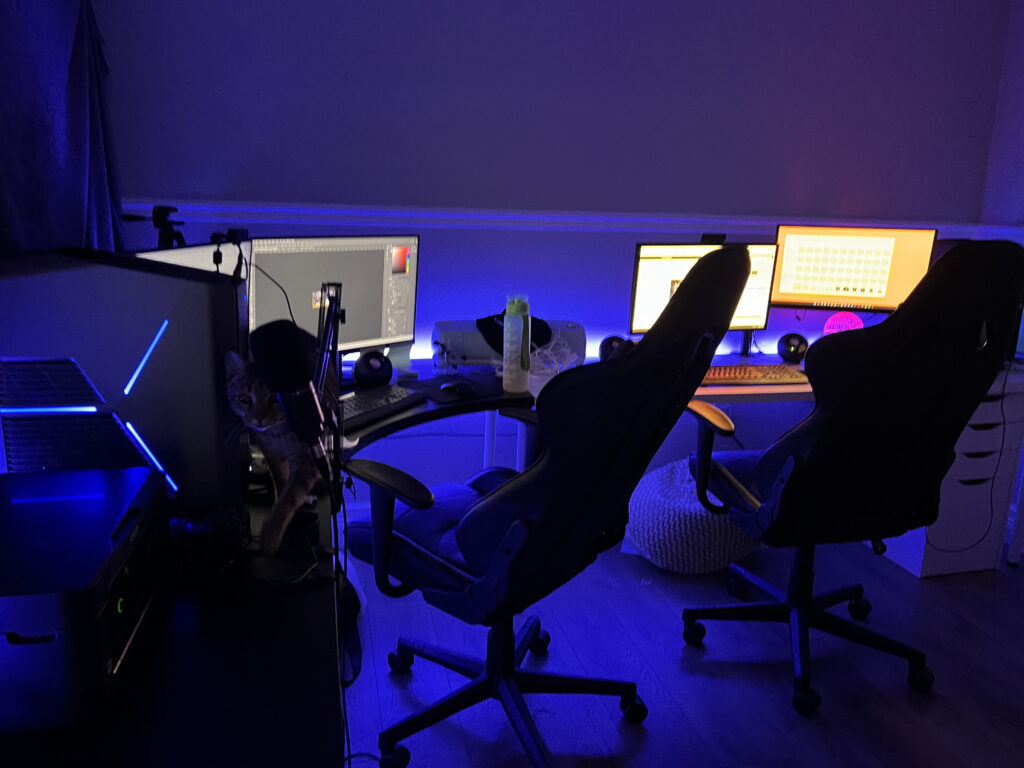
LED Lights installed previously 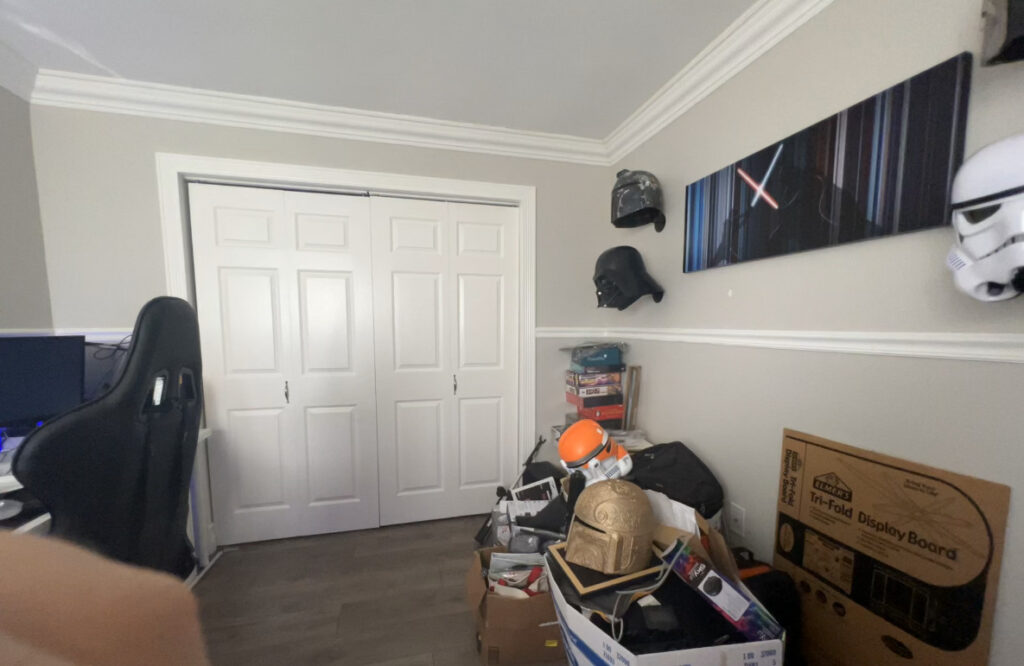
Proof of “Catch All” Problem 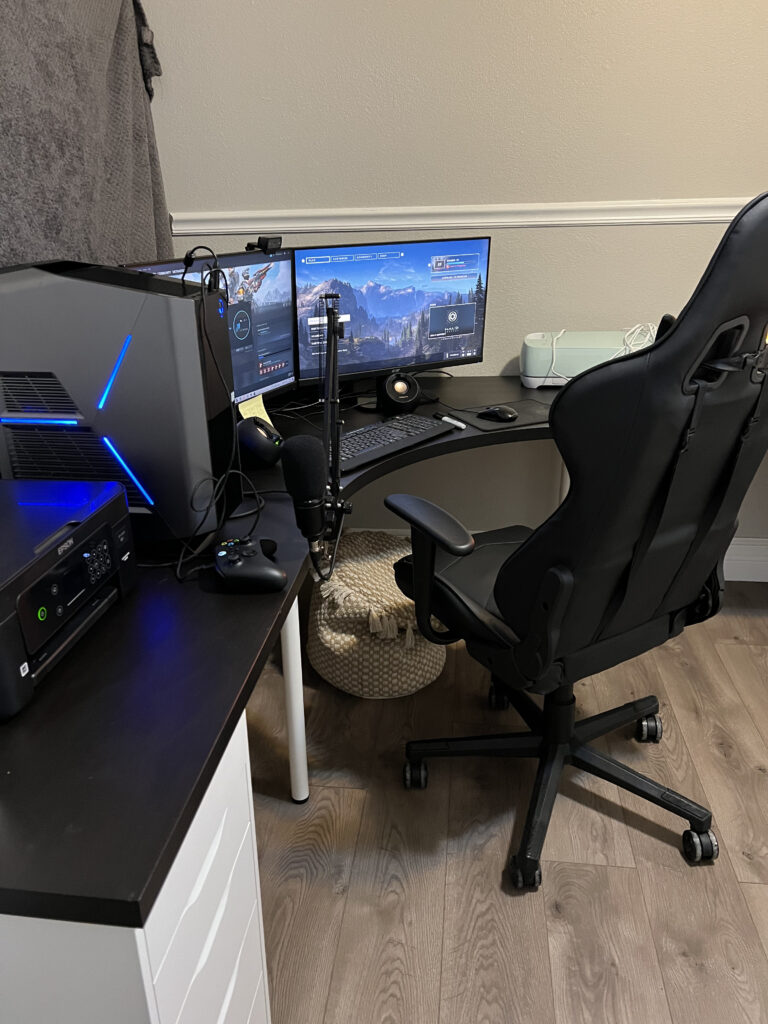
Planning
Planning the space was somewhat hard, somewhat easy. I knew I wanted the room to have a “moody” semi masculine feel to it since Freddy spends a majority of his time in here. I also wanted to create a cool backdrop for Freddy to be able to record content in a relatively plug and play style. To complicate things even more I wanted to somehow create multiple “backdrop” options and the ability to change the backdrop to fit different “channel needs”. Freddy has been interested in creating content that’s not just Star Wars related and having a backdrop that can be flexible with the changes would be ideal.
So first things was first, think back to all the DIY Instagramers I had been following for the past couple of years and remember what I loved that I couldn’t get out of my head. Secondly, explore Pinterest.
I ended up creating a Pinterest board called “Moody Office Inspiration” that collected a bunch of my favorite ideas. I started to create a list of mandatory things I felt the room was missing, one was a big bookshelf that looks like a built in cabinet. Another was a Gallery wall that would allow us to display and rotate art work from different artist (we love to buy prints and original pieces). I needed LED lights in the built in, and I needed the lights to be able to change at my command incase I want to change the mood. Missing was also another monitor, we needed/ wanted a place that we could watch videos or play music other than the computers we are working on.
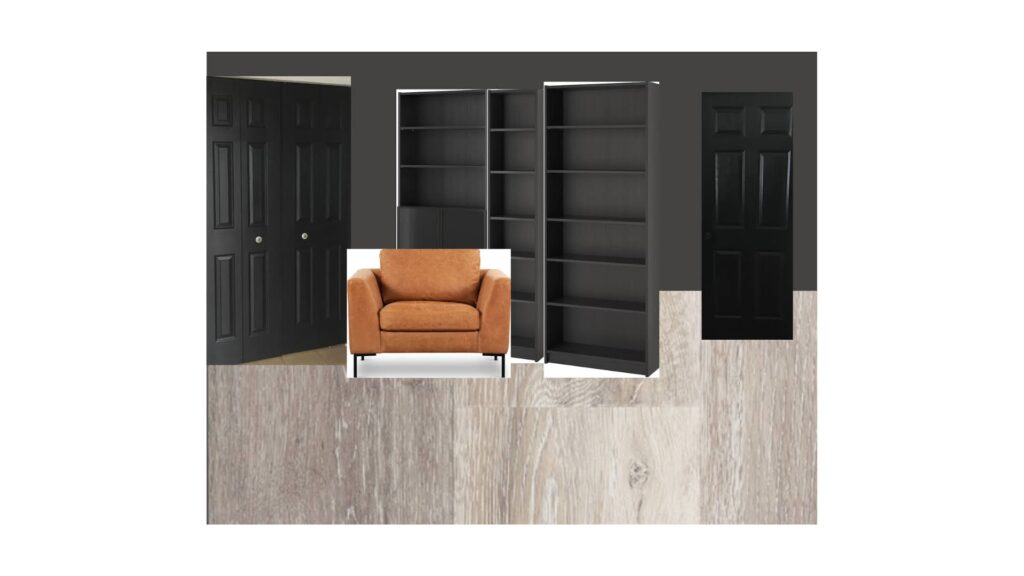
So I got to planning and actually created some of my first mood boards. I’ll paste them here for your enjoyment:
Key Must Haves for Office Update 2022:
- “Built-in” Bookshelf- the plan was to create the illusion of a built in using Ikea Book Shelves
- Black or Dark Green walls – for a Masculine/Moody Look
- Shelves for Displaying stuff including more Books
- Gallery Wall
- LED Lights
Debatable:
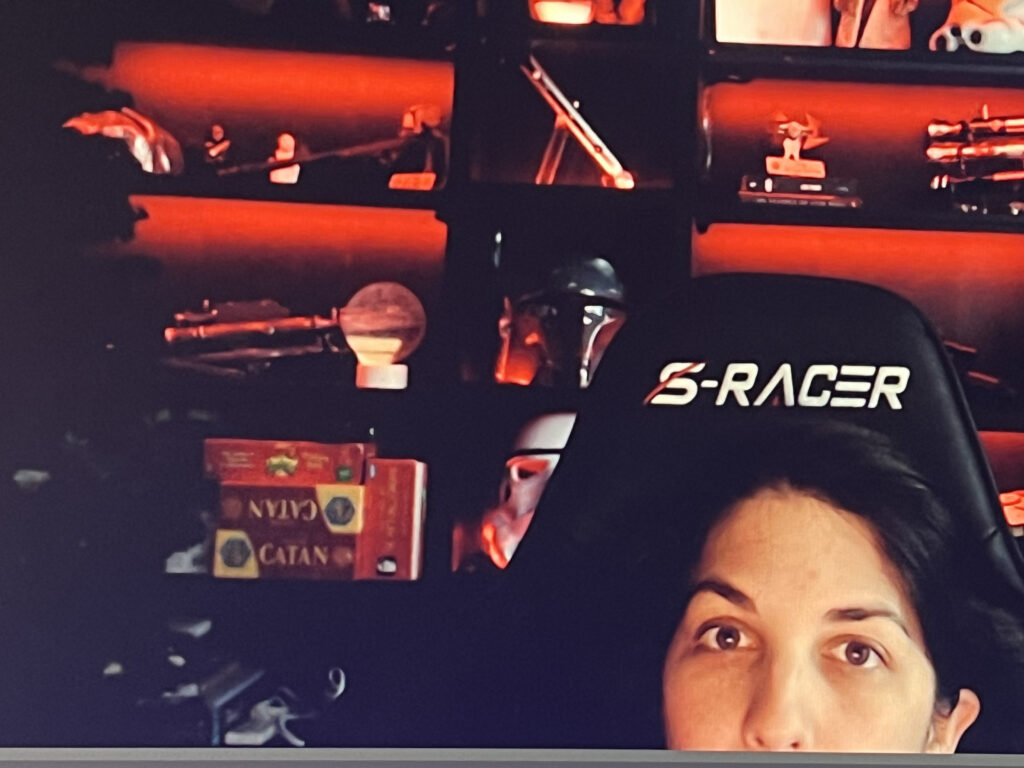
- Faux Leather Chair – it was a space allowing thing
- Smart TV for watching stuff
Prepare the Space for the Office Update
First thing we had to do was take the Office apart. The big Office Update couldn’t be done with Freddy in it, so we carefully took apart the Ikea desk that we put together earlier in the year. In the process of taking it all apart I lost the LED strips. We forgot the aluminum tracks were not connected and in splitting the table tops the LED got cut. It totally jacked the entire line from the point of the rip. the rip coincidentally was right smack in the middle of the entire thing. I basically facepalmed, thought about crying and then realized I had an entire roll of LEDs I had ordered as back up.
Crisis averted we continued with the dismantling. we took down the art our friends gifted us and we took down all the helmets and the hooks they sat on. I kept the hooks put away since I might still use them in the future, just not right now. For the time being the wall the helmets had previously been hung on was going to be the home of our new “built in”.
Painting
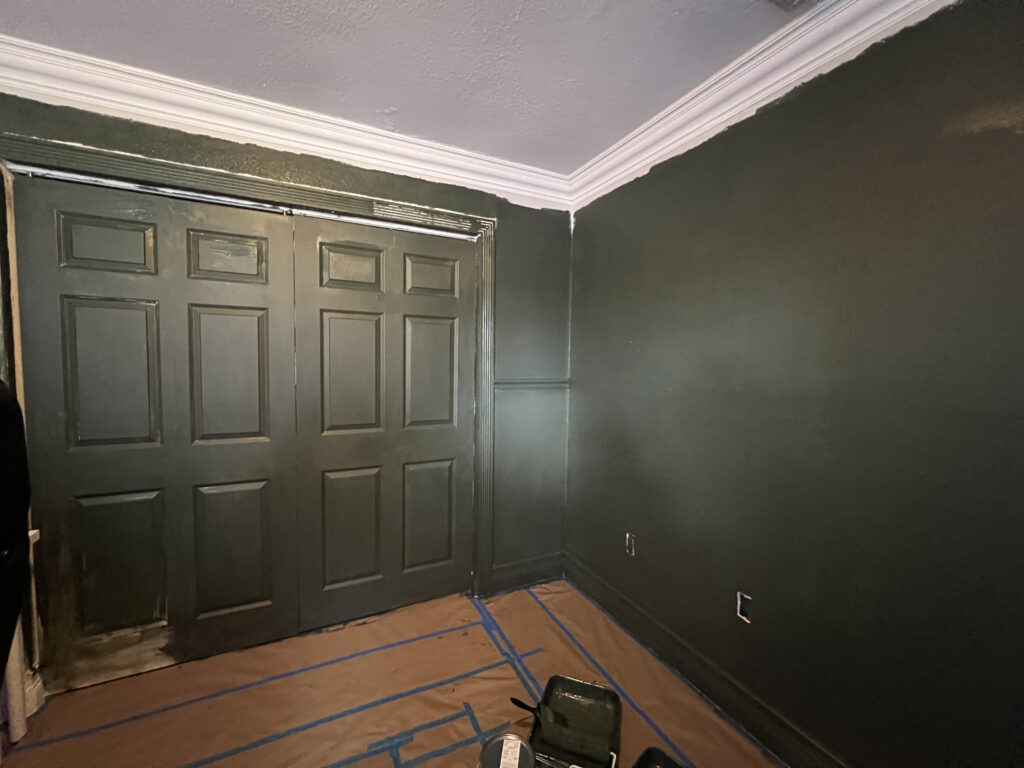
Once dismantled the next step was to get the walls and doors painted. I had seen on Instagram a bunch of my favorite DIYers were painting the doors in the rooms the same colors as the walls. I think it was because it created an optical illusion, regardless I likes the idea of having a consistence color without having to roll down a back drop. So I convinced Freddy to paint the doors of the room with me. He was skeptical to say the least but when he saw the color I finally chose he was extra skeptical.
We kept bouncing between a dark black that would match the Ikea Bookshelf, and a dark green. I don’t know why but my gut said to go with the green and I couldn’t be happier. We got the color in a matte finish and we painted two of the four walls in the matte color including the closets, doors, and the bedroom door, on each wall respectively.
Deciding what to paint the remaining two walls was the hard part. I’m indecisive by nature. In all honesty I can’t ever pick between two things and I tend to question my sense of style. Our options included painting the walls white, continuing the dark green, or painting them black.
Thankfully Freddy understands I’m indecisive and that this was a really hard decision. He let me get things out of my system by showing him option after option. Then he basically helped me set a deadline in my own head. In this case I also got some input from him since he was going to be the primary user of the room.
Using my phone I would “sketch” what it would look like and something about the white seemed like the right way to go. In one of the drafts I debated keeping the bottom portion of the wall green but we decided to keep it all white and I don’t regret it.
The Built In Illusion
With the room painted what was left were the shelves, the gallery wall and my “Built In” feature. I was really excited because I had basically designed a bookshelf “built-in” cabinet using Ikea’s BILLY/OXBERG Bookcases.
Pieces for Bookcase:
- BILLY / OXBERGBookcase with doors, black-brown
- BILLYBookcase, black-brown, 31 1/2x11x79 1/2 “
- BILLYBookcase, black-brown, 15 3/4x11x79 1/2 “
At the time of our purchase Ikea was out of stock of the BILLY/OXBERG Bookcases so what we did was purchase 2 BILLYBookcase, black-brown, 31 1/2x11x79 1/2 “ and later on when we purchased the shelves we wanted we purchased the 2 OXBERG Door, black-brown, 15 3/4×38 1/4 “ doors. Installation was easy and everything I needed came in the package. This is a good solution for people that need the shelves and can wait on the doors or want doors in different colors than what comes prepackaged.
Once built we screwed everything together, there are connector pieces that were easy to use. I knew that I wanted to rig the “Built In” with LEDs so I cut out the space behind the doors that would allow me to un power inside the shelf.
Pieces for Lights:
- LED Lights- We used this strip from Govee
- LED Channel- Used to Mount lighting to shelves
- RGB Extension Cable- This was more than enough
- RGB Strip to Cable Connector
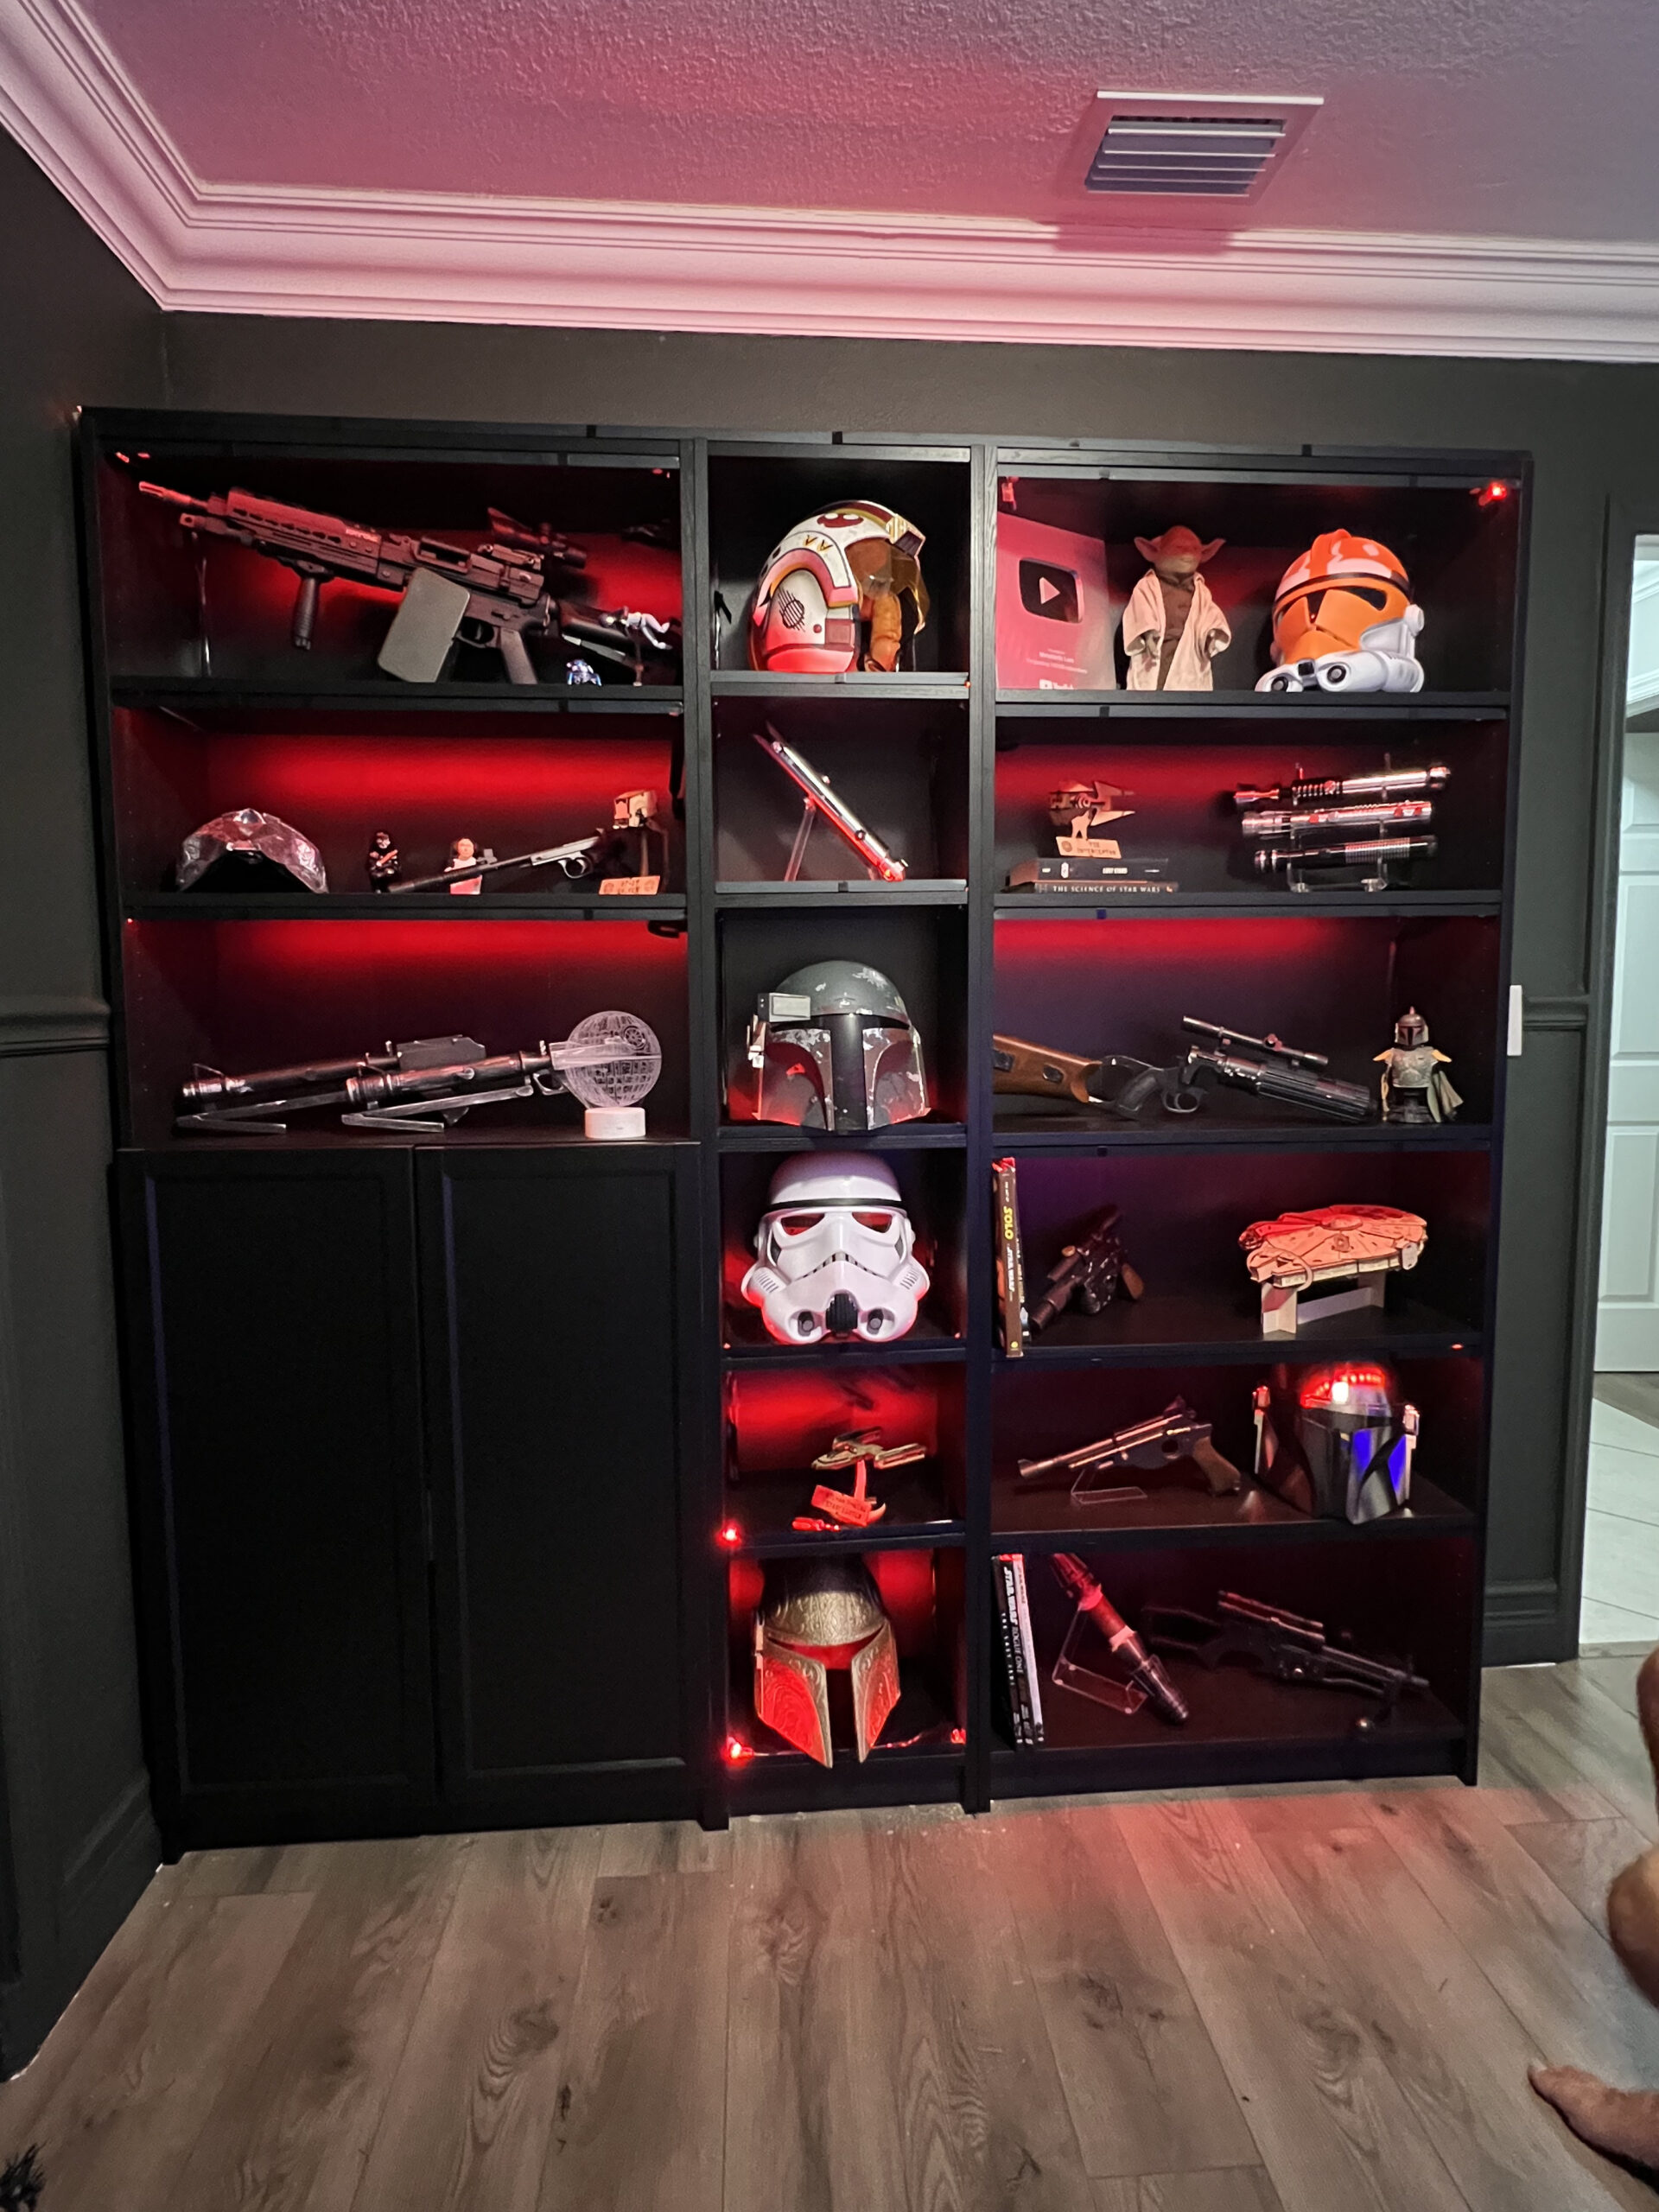
To really seal the deal with the “built in illusion” I wanted to add lights. I bought some LED channels on Amazon that I could cut with my shears. I was nervous about the LEDs I had on hand. They were the same brand that I had used on our desk so I knew they would work. My worry was that I didn’t have enough on hand for the project. We were forced to replace the entire strip behind our desk and to do that I had dipped into the lights I had bought for the “built in”.
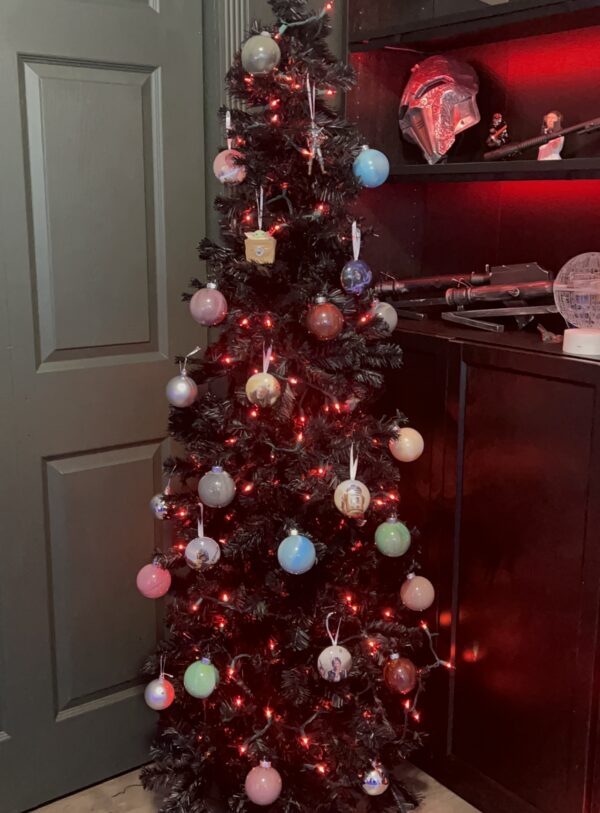
I was worried I was short on lights and I was right to worry. I was technically right! Thankfully I was able to use some of the damaged strip to finish off the built in. The upside is that we can take photos of it and we can use it with RED LED light settings. The downside is that certain colors don’t work on the damaged strips. This makes it so that the bookshelf looks like a sad Christmas tree when we change to other colors, like blue. Once day I’ll replace the damaged light strips, for now I’m just going to leave everything on red.
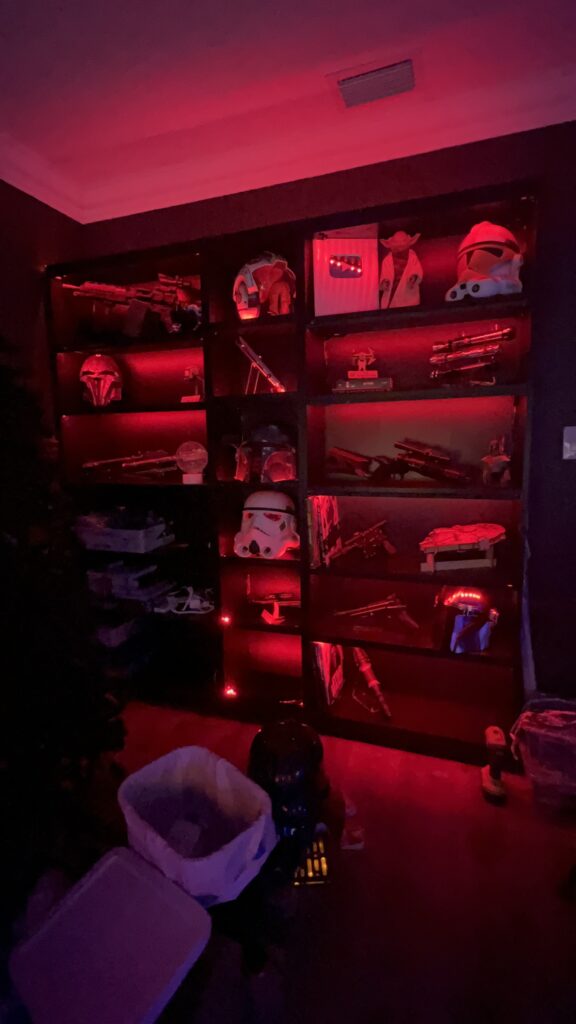

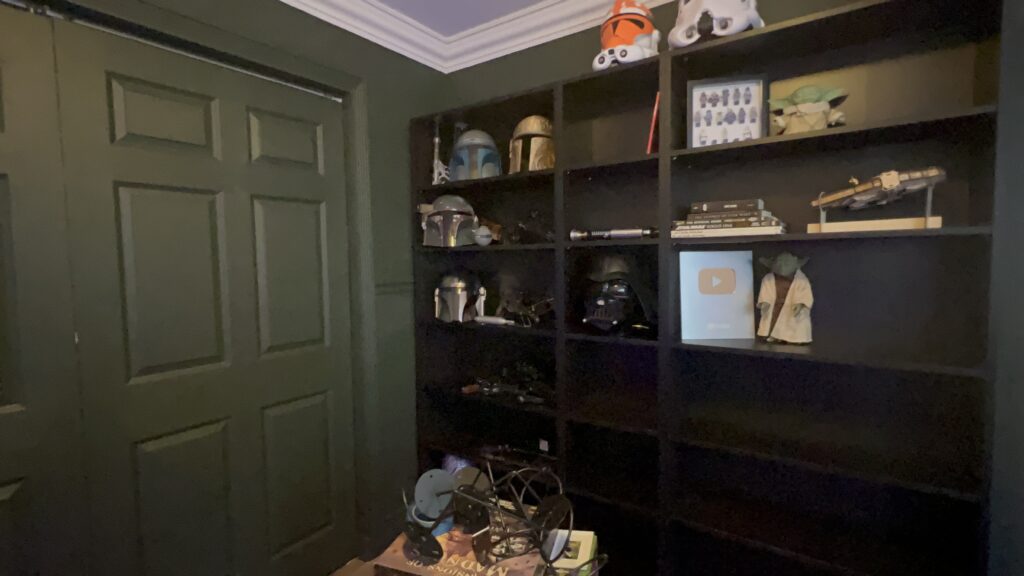
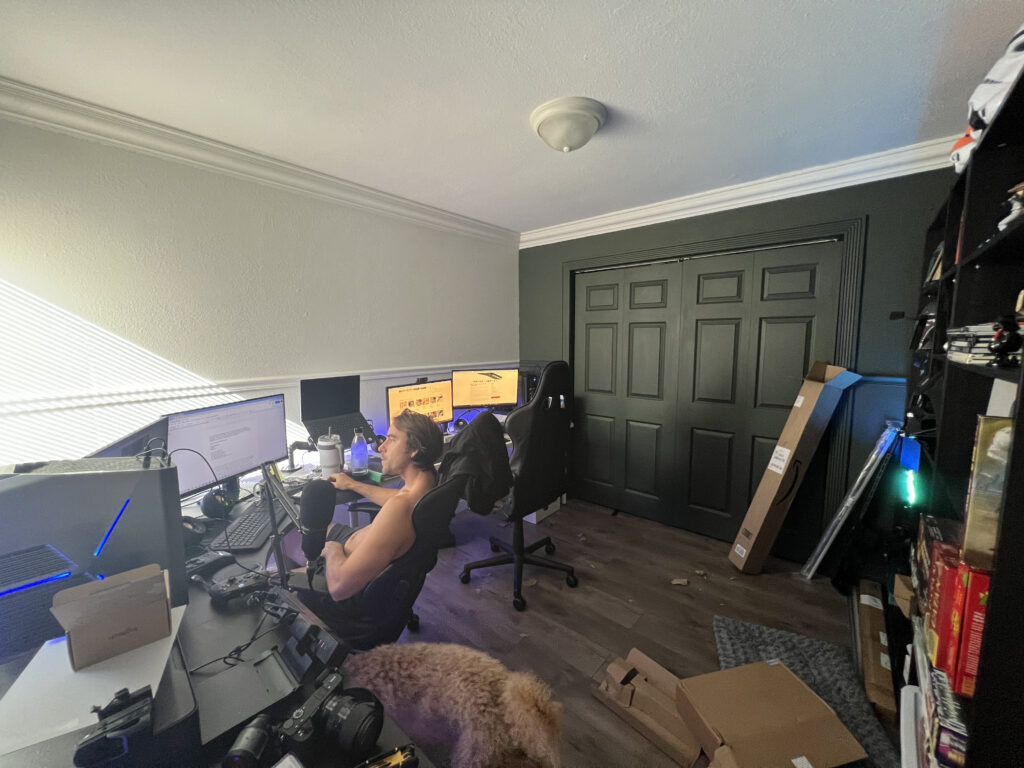
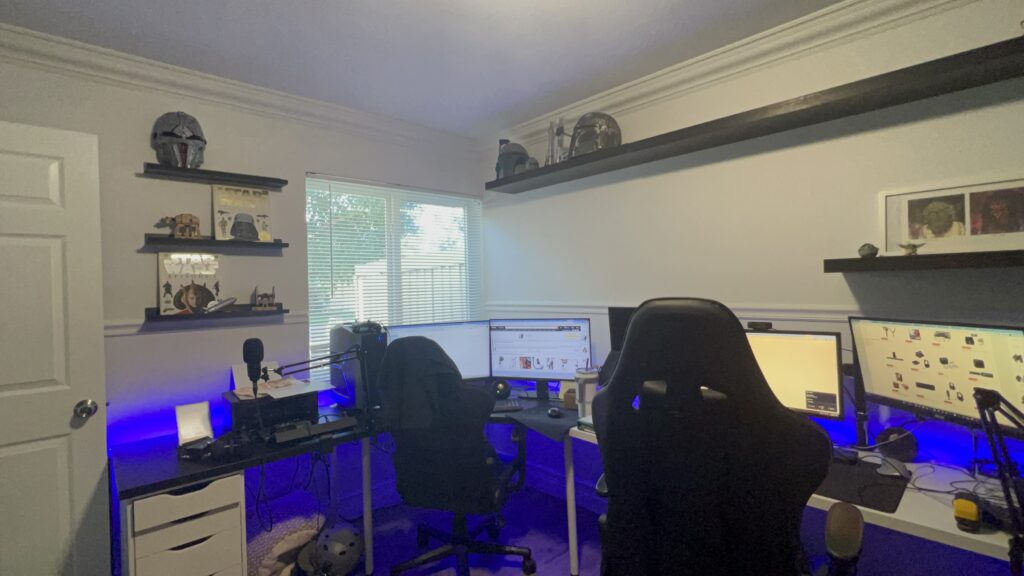
Eventually when I finished the lights I installed the missing doors. With a touch of styling this was basically the final product. We picture the items on the shelves will constantly change, but the overall effect of a big built in cabinet is there. Especially when you turn down the lights, the dark green on camera almost goes black sealing the “built in” illusion.

Gallery Wall and Display Shelves
The last big ticket item to summarize the 2022 Office Update are the walls. Two things I wanted were a gallery wall, and some wall shelves for more display space. I wanted to have some shelves be flat and some have a lip to display books and magazines or art. I also had 2 walls to spread this all across.
The space I had was basically the space behind our desk. This includes the space right above our monitors, behind the monitors and computers, the wall with a window and the space above the printer.
I obviously began planning it out in mood boards.
The hardest part for me was creating a space that was balanced but had room for all my must haves. I started with something like this and ended up going with this:
I felt this gave us plenty of room to display art and display more stuff like ship models and helmets.
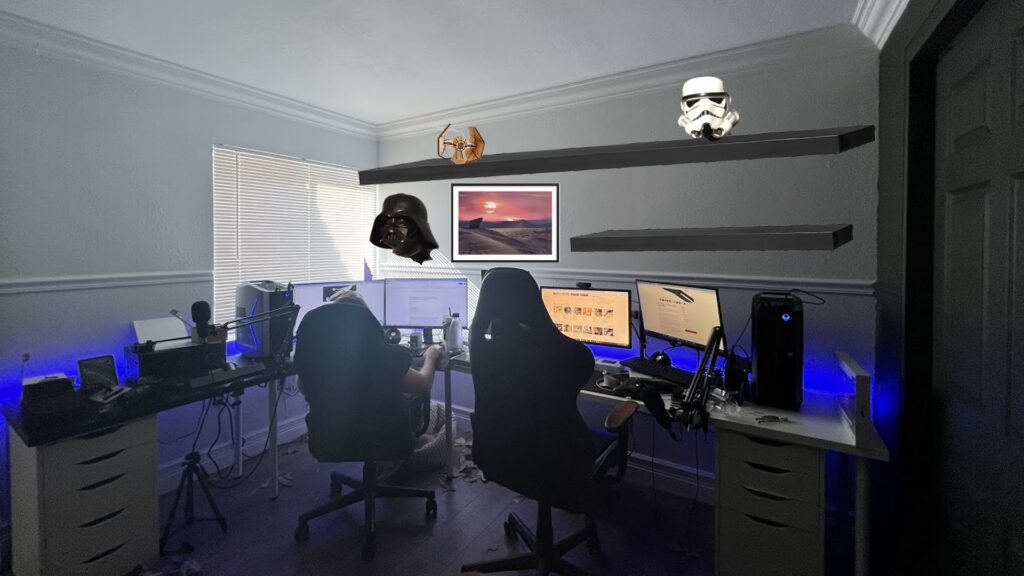
Some of the Final Details for Our Office Update
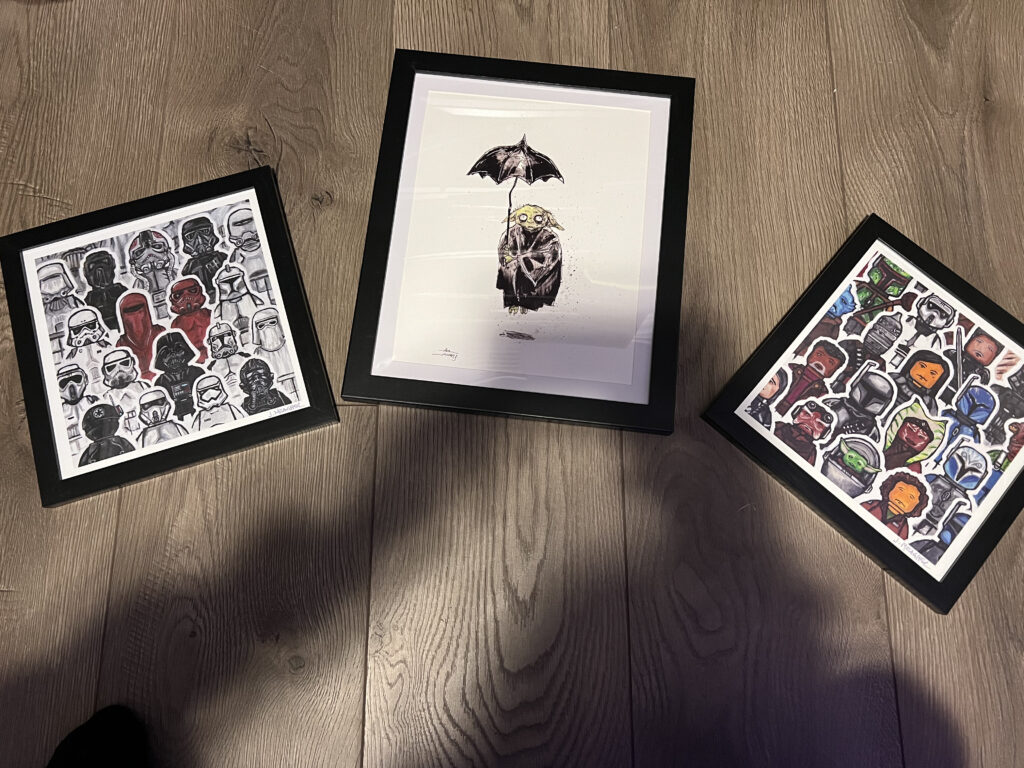
We framed almost all the art we had been gifted or bought and made our first version of the gallery wall. I imagine some pieces will rotate out and things will move but overall we’ll probably reserve this space for art. I debated hanging helmets here but maybe more down the road when we don’t have as many on display everywhere else.
We also ended up buying a stand for out Laptop instead of an entire smart TV. We realized we didn’t want such a big screen and didn’t want to invest in something like that right now. the stand I bought is really cool and can spin around so Freddy and I can both have control of what we want to listen to.

Updates and Details for 2023
The Office Update was a huge push for the house and really set the tone for what we want to bring this 2023. We have a few minor details we still want to update including lighting, better mic set up, and more décor. Thankfully though those things are pretty minor. I might take those projects on in between big things but for the time being I think I’m going to prepare to tackle the next big project.
Hopefully we’ll put a Vlog together of our office space. I’m also hoping to put together a finally reveal of everything together including the Gallery Wall and some of our favorite touches.
Thanks for reading, and may the force be with you!