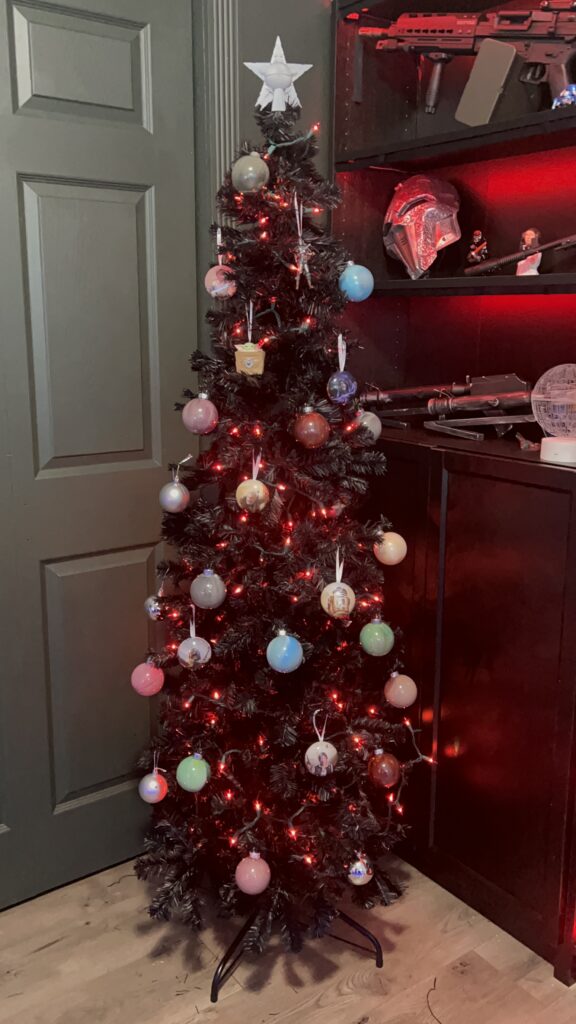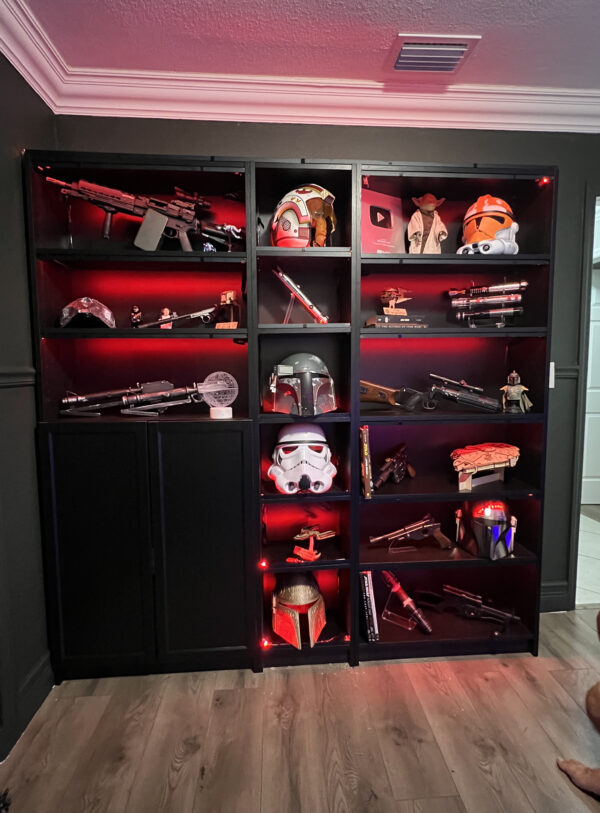
Every year we make a small Sithmas tree. This year the office got an upgrade right before Christmas, so we thought it appropriate to upgrade the Sithmas tree. What better way than with some new Sithmas Ornaments.
We started by ordering a new tree. We had always had a natural tree but this year I ordered an artificial one for a couple of reasons. First of all I wanted a tree I didn’t have to remember to water. Secondly I wanted a black tree for our Sithmas tree. Thirdly it had to be thin and short. The plan was to put it in front of our “built in” backdrop that we built.
I ended up ordering our tree on Amazon. The tree we chose was economical, had quick shipping, and it was pencil thin so it was really perfect for the spot we had picked in the office. Once it arrived we strung it with some red LED lights we bought at Target.


Once the lights were strung up it was time for some of the ornaments. This is where things got complicated. Although we moved into our home over a year ago we still haven’t been able to find some of our old ornaments. Many years ago, for our first Sithmas tree, we made most of our ornaments by hand. We painted on plastic ornaments with permanent markers and had several Star Wars characters.
We always stored a majority of the Sithmas tree together in a Sithmas box, but since moving we haven’t found it. This left us with only a few ornaments on hand that were gifted ornaments we’ve gotten over the years and kept separate from the Sithmas bin. I wanted the tree to really have some Star Wars characters and colors and started looking online for different ornaments.
Operation Sithmas Ornaments
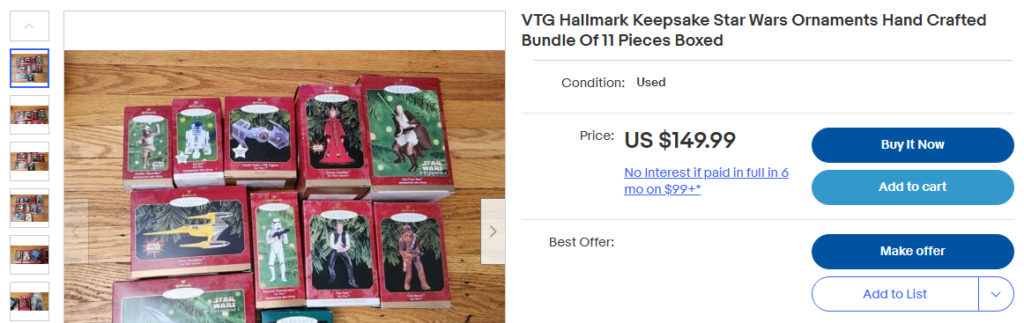
Originally I thought this was going to be a straight forward mission, I was wrong. Turns out that Stars Wars Ornaments are either pretty expensive or pretty hard to find. Even lots on eBay were pretty steep and to fill an entire tree with ornaments was going to be pricey.
I was pretty bummed but started looking at DIY ornaments on Pinterest and stumbled upon these beauties:
Looking at them I got to thinking that it would be cool to have a few with different themes. Some Sith ones, some jedi ones, some with Yoda colors, others with Ahsoka colors. I basically had the idea in my head. I saved a bunch of pins and convinced Freddy to stop at Hobby Lobby on the way home one night. There we bought a pack of clear plastic ornaments, and a ton of paint.
Supplies:
- Clear Ornaments
- Paint: Dark Green, Neon/Bright Green, Red, Orange, Yellow, Dark blue, Bright Lighter Blue, White, Black, Grey
- Solo Cups- almost any cups will work. We recommend disposable ones unless you plan to reuse them for more art projects like we always do
- A thin stick ( we used one for a shish kabob because that’s what I had but any stick works)
Sithmas Ornaments Process
When we got home I started looking through all the inspiration pins. I quickly wondered if I was in over my head.
A number of pins had details I had forgotten about, like one pin was actually a pour over technique.
Another Pin had a medium (mixer?) that I forgot to buy. Some Pins said to use thinner, others said to use water. I was feeling a little defeated. Thankfully Freddy said that I was throwing the towel in early, so I decided to just wing it with the materials we had.
Freddy ended up did a few ornaments with me. We poured paint into the ornaments and swirled the ornaments in our fingers so the the paint would spread all along the inside. Freddy watered his down way more than I did. I for the most part didn’t end up watering mine down much, if at all. I just poured paint until I felt I had enough.
Sithmas Ornaments Tips
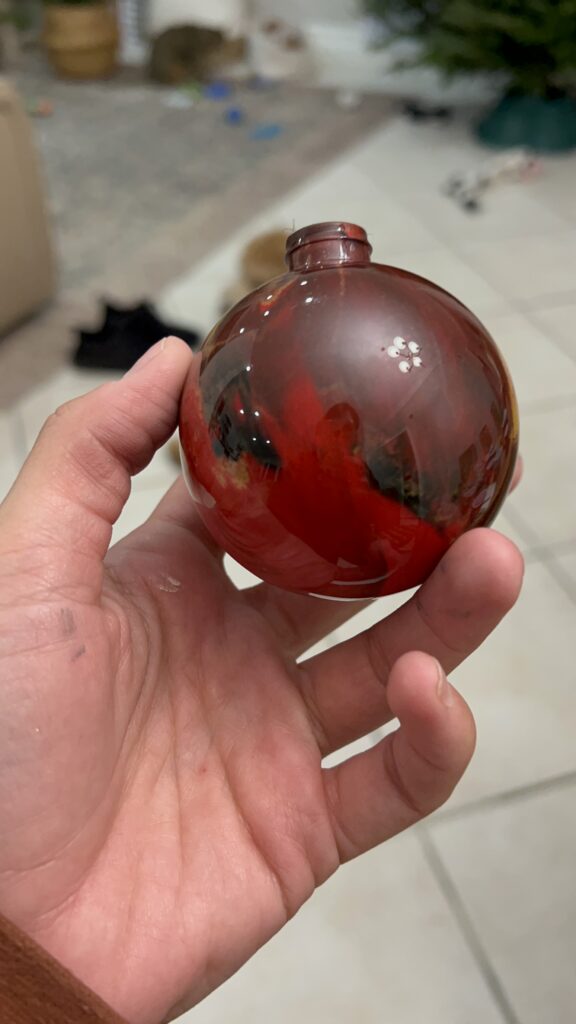
While looking through my pins I did see a good tip, it had to do with the amounts of paint you pour. It said that large amounts of a dark color tend to overtake the lighter colors. I kept that in mind and went easy with my blacks, dark greens, dark reds, darks blues, basically all the dark colors.
I would choose 2 or three colors to mix and decide on a primary color for the ornament. That would be the color that I would try to pour the most of. Then I would vary the other two colors depending on how much weight I wanted the other colors to carry.
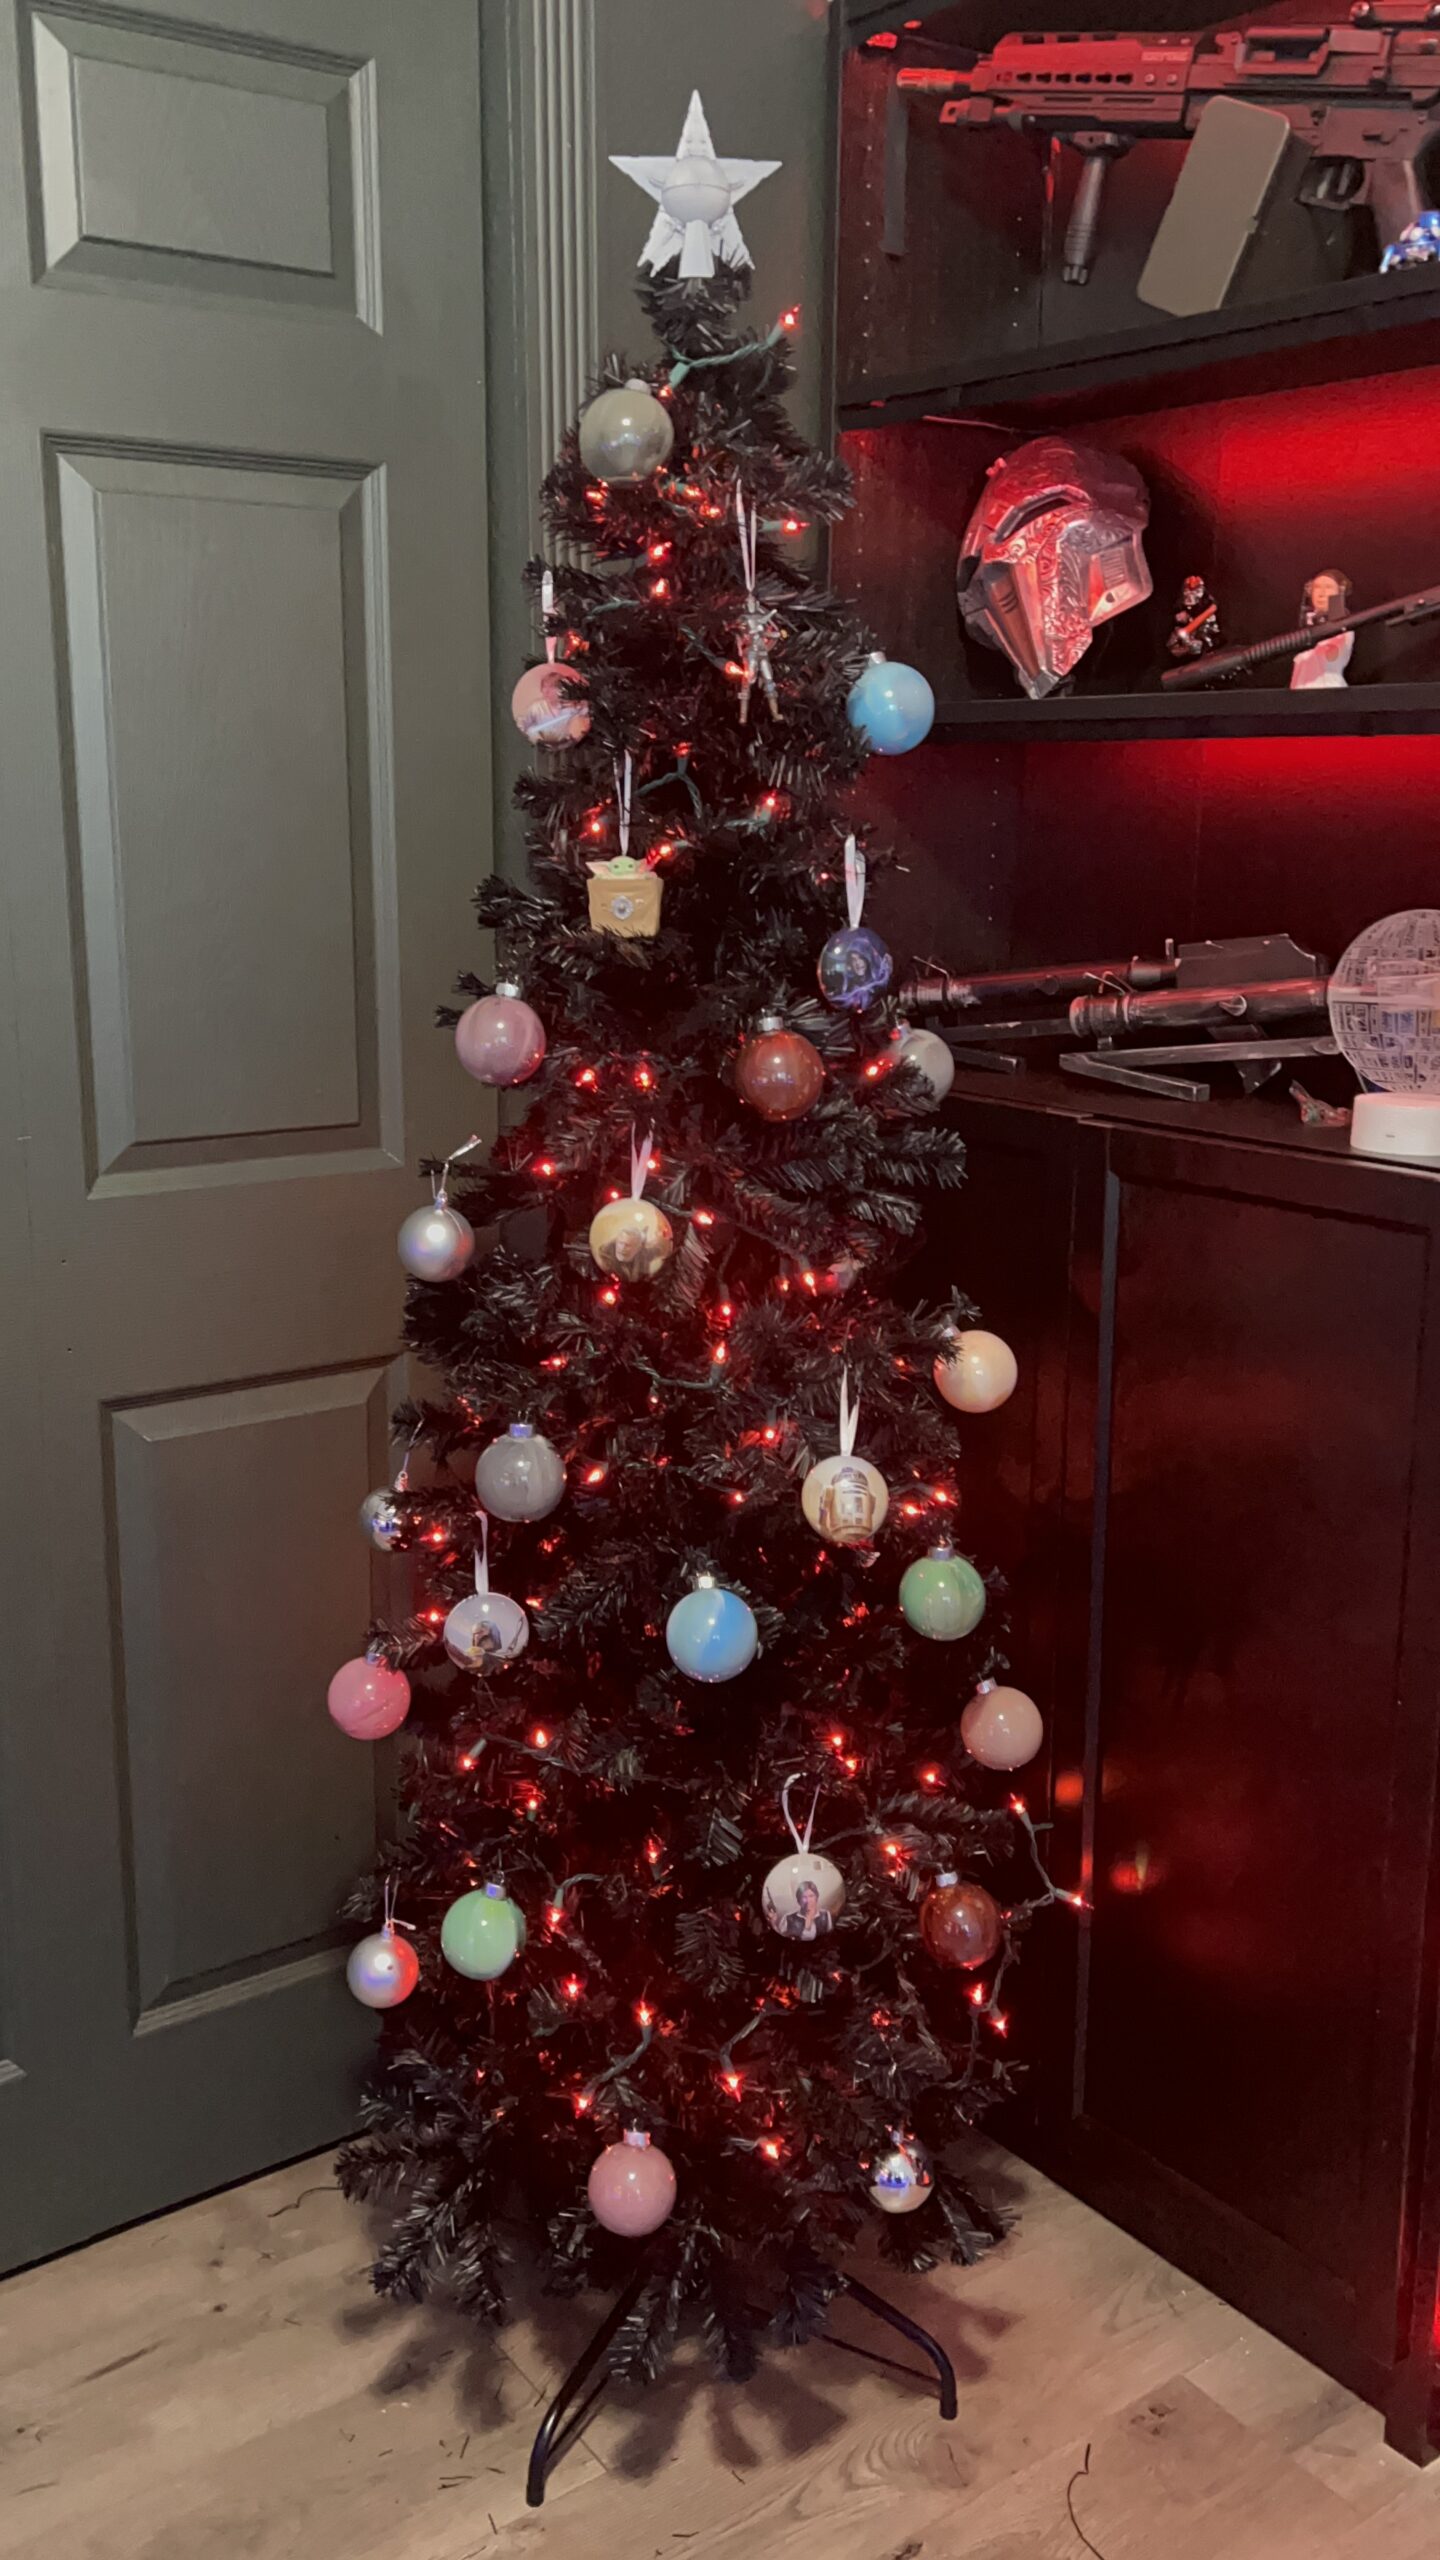
I tried to have some ornaments be darker and some be lighter to play with the dark side light side theme in Star Wars. I also wanted a couple ornaments to have colors based off specific characters and planets like Yoda and Tatooine.


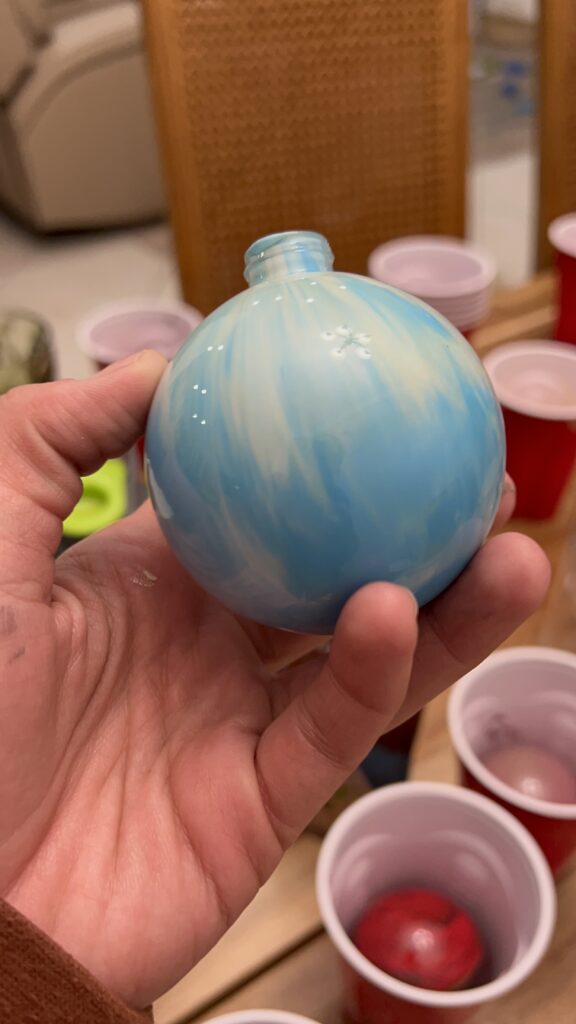
My method was to go slow and use a lot of paint, but fair warning the more paint you use the longer it will take to dry, just keep that in mind. I used Red Solo cups to flip the orbs in and let the paint drip out. I wonder if the cups made it take longer for the orbs to dry on the inside. Once flipped in the box they basically closed up all the gaps creating a semi seal, but I have no idea honestly.
More Tips and Summary
All I can really say is to try to use complimentary colors. Three colors looked good in most cases. The metallics add cool depth and are worth it but but count as the third color. Lastly just take your time. If you use a stick like we sometimes did don’t stir too much you’ll just blend it all and have mush. Just kind of whip it around and let gravity do the rest. Feel free to experiment and honestly I encourage you to experiment. It’s a project that’s easy to do and with a little patience and practice you can make something really cool and unique. Good luck and Merry Sithmas.
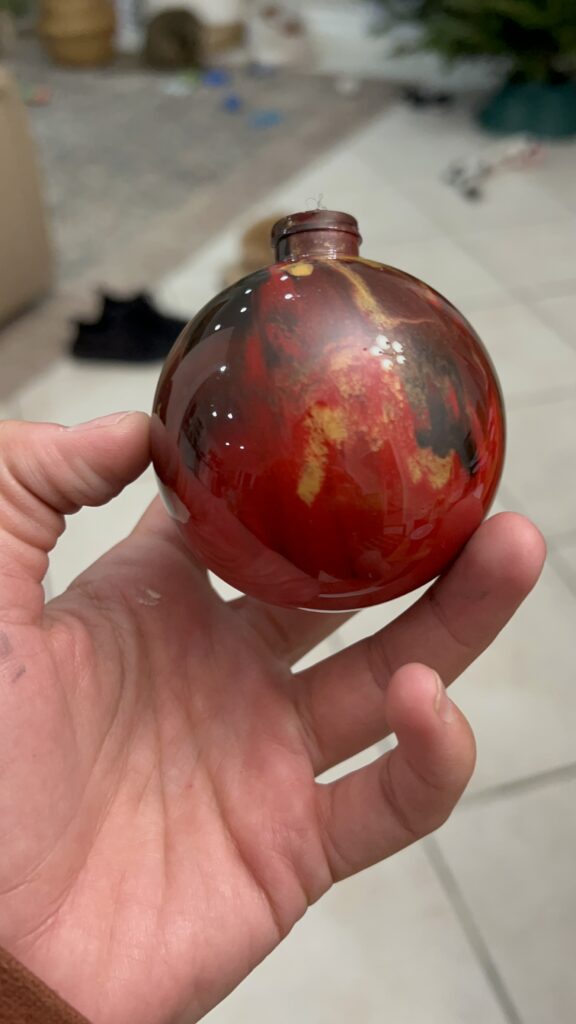
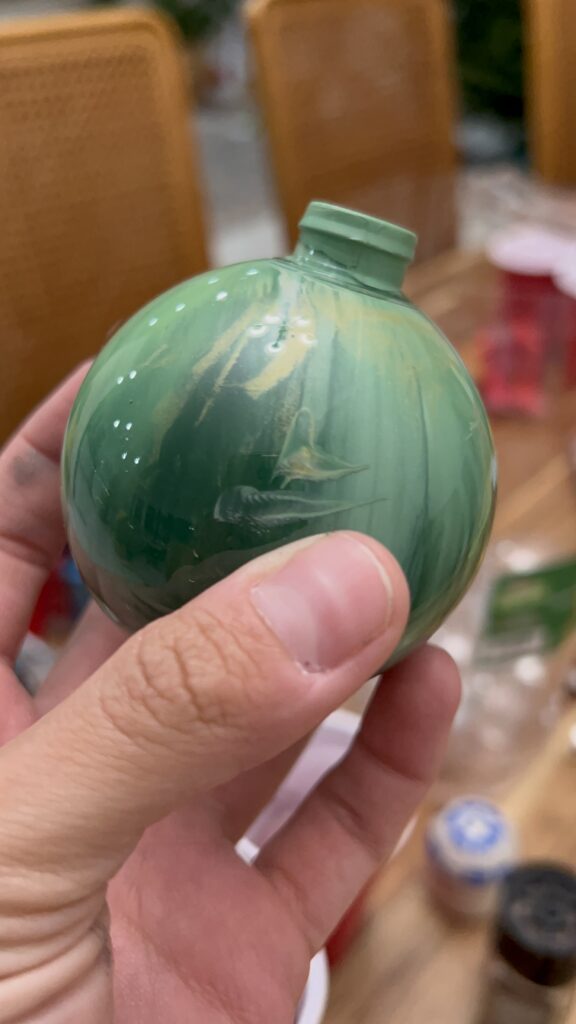
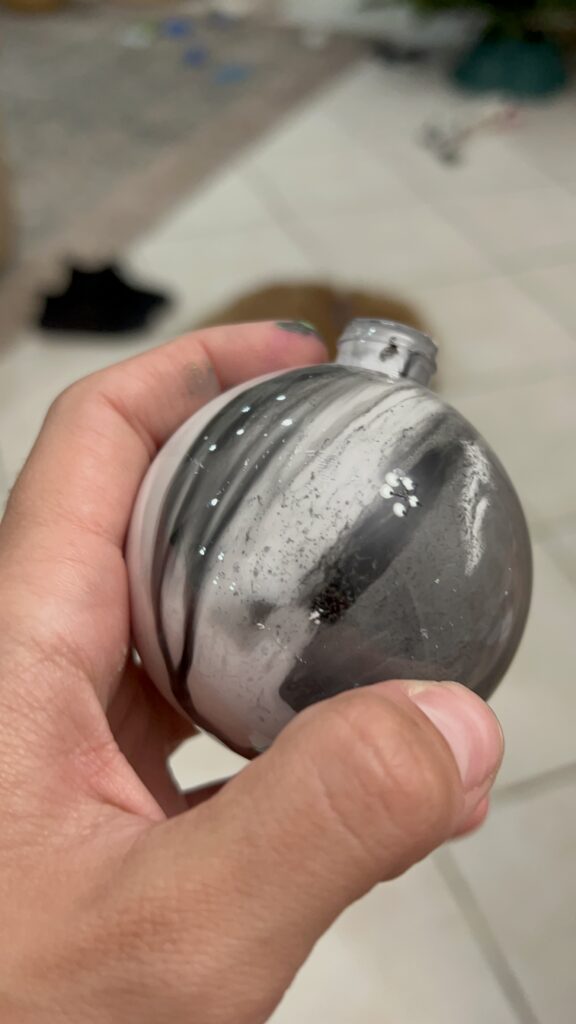
Video to come soon but for now here’s some photographic proof it existed.