We’ve gotten a lot of questions about our drip system in our garden out back, we thought we’d make a central place with our links for our initial build and a really quick breakdown of the system we have in place. So far we have had the drip system for about a month and we honestly it’s made gardening pretty easy.
Watch our quick breakdown and our links to all the supplies we got for our drip system:
All you need is a normal outdoor faucet like you’d use for a hose. All of the items used were the top rated on Amazon, and almost everything was prime shipping or at least fast shipping. This was out first time ever trying this so we were a bit confused and skeptical that it was really this simple, but now I can say it really is. So if you want just follow these steps and click the links.
Supplies
First step to automated drip irrigation will be the automated part, the programmable timer.
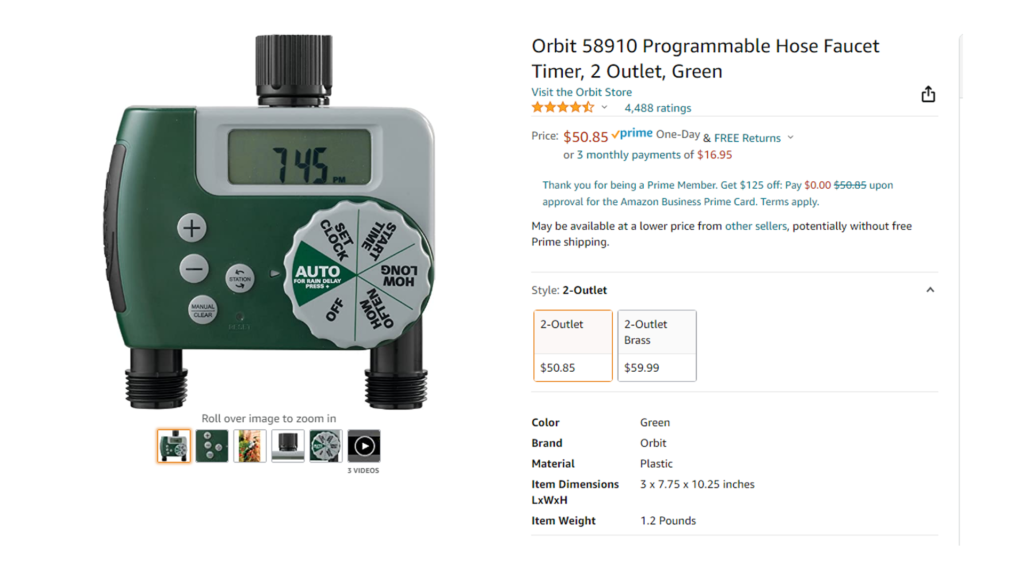
That top part twists right on like a hose, and this one gives you two faucets, or “stations” as they’re called in this device. Programming is really simple, you twist that knob on the right to set everything from which station to turn on, time to turn on and for how long, as well as how frequently it should turn on. And each station can be set up independently, or you can just leave on with a standard hose. This part was the one I was the most worried about, but it really is simple and intuitive, set it and forget it.
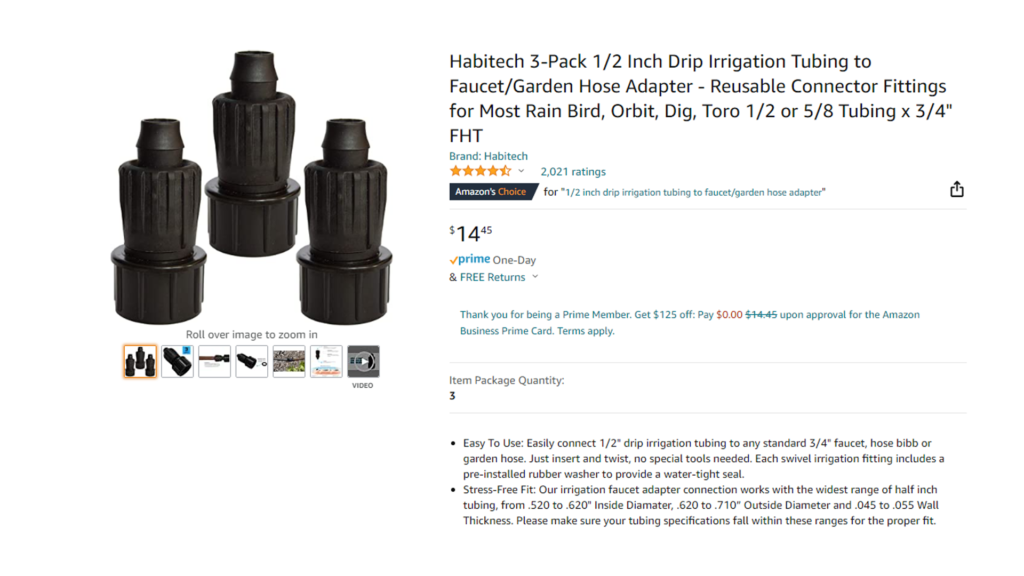
Next you need the 1/2 in tubing adaptor. This whole system uses simple tubing like you might see in a fish tank, so to connect that to the timer, you need it to connect like a hose. So you’ll need this. To visualize it, in the pic below they are upside, the wider part twists on like a hose, and converts it into that 1/2 in. connector for the tube.
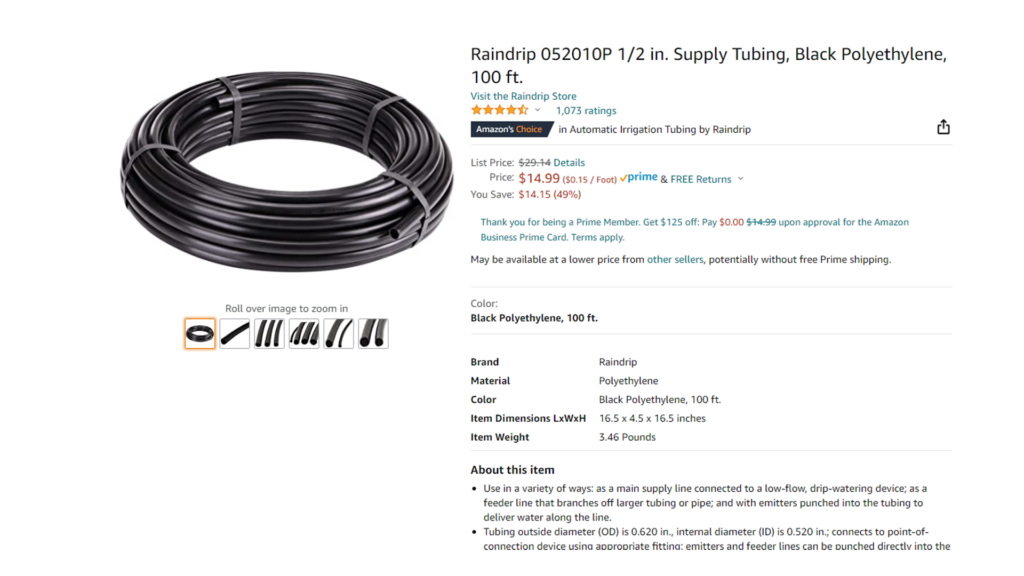
Now you can connect your tubing. This comes in 100 ft. lines, and is really sturdy and wide enough to give a good volume of water.
Think of it like the main water line for a neighborhood that runs down the street, with pipes going out to each house. The main pipe = the 1/2 in tubing, while the lines to the house/individual pot or plant will be 1/4 tubing.
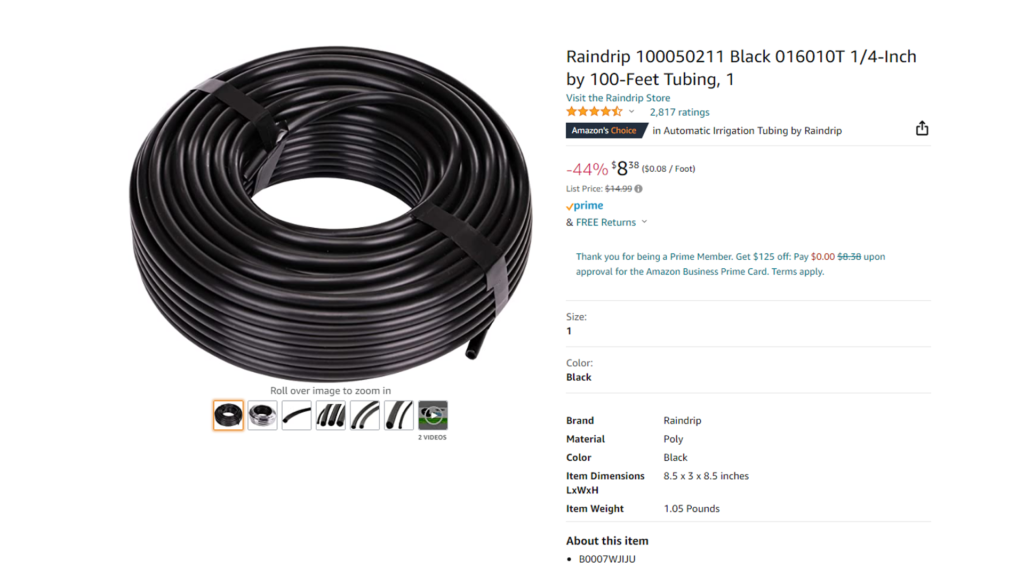
So get enough 1/2 in line to run along the garden, with enough 1/4 to go to each area to be watered. I say area because we have some lines going to individual plants in the ground, some to pots, and some spray wide for a whole area.
But you need these to connect 1/2 in to 1/4 in.
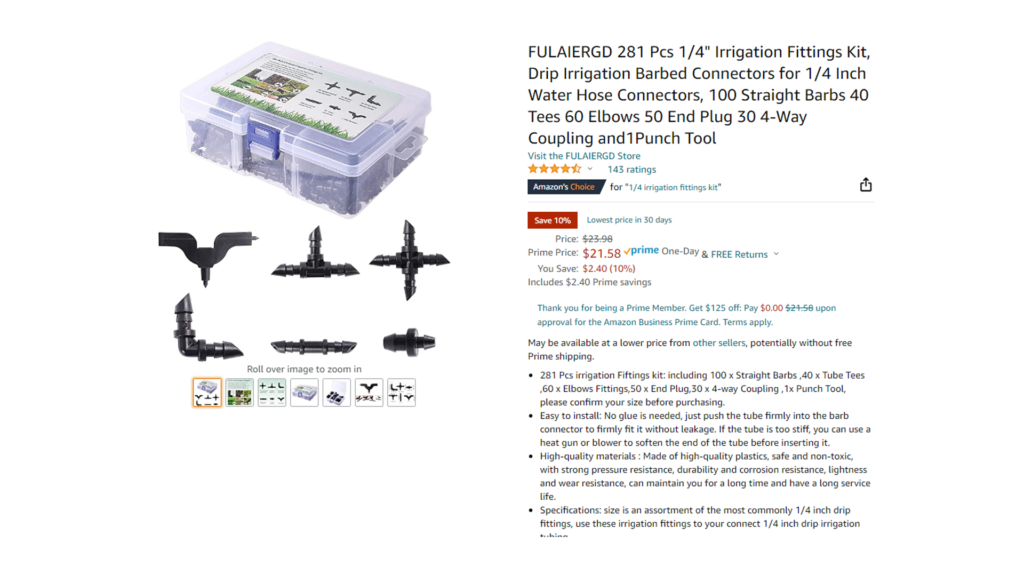
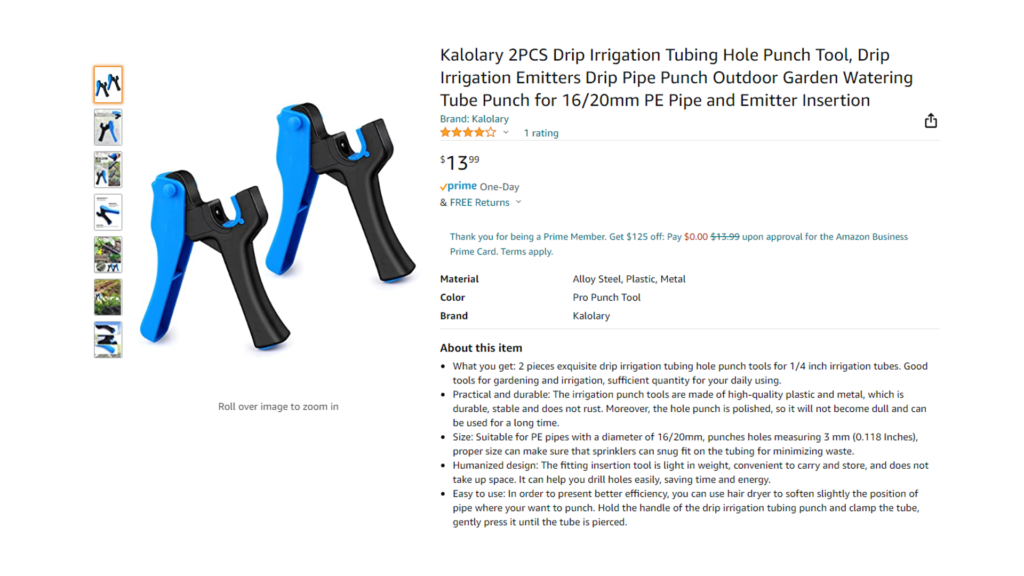
….get this hole punch though. Trust me the one this kit comes with kinda sucks.
This is where the fun begins. You punch your hole into the 1/2 in line, put your connector piece depending on the need, and connect the 1/4 in to that. Now you have a 1/4 in tube ending, where you will attach the sprinkler or drip emitter.
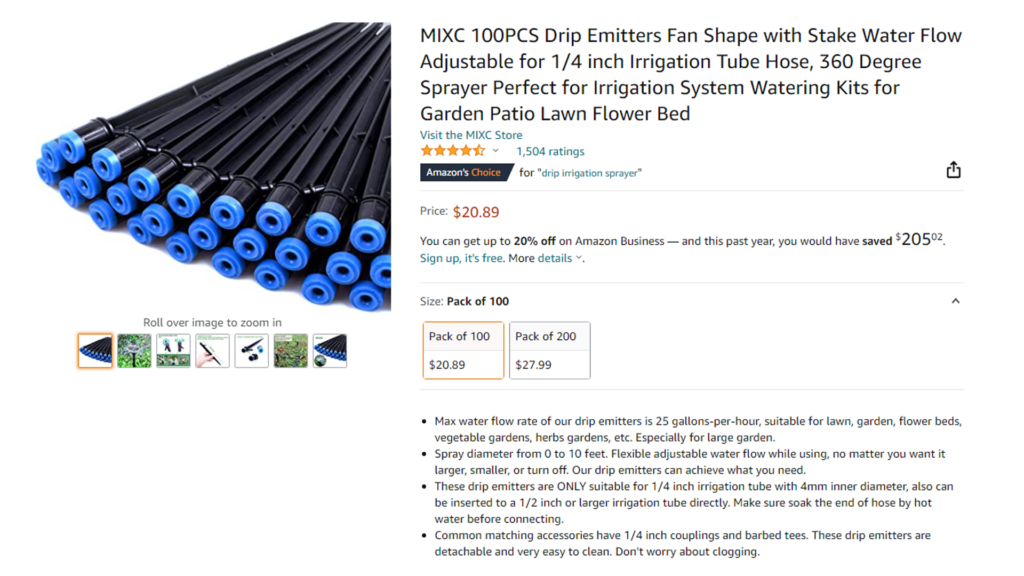
There are a ton of different ones you can find, but I like these because the stake allows you place it where you want and at different heights, either all the way in and flush with the ground, or a bit above to spray over. That blue top twists to adjust how much spray comes out, which is perfect and allows this system to work like a true drip, but also if you want for certain places, to work more like you think of with a sprinkler system. With a big circle of water at each head. Also! We have a red one from amazon that sprays a line in 5 directions, but we really prefer this one as it is an omni-directional circle of water.
DON’T FORGET THESE PIECES!
Everyone will need an end plug for the main 1/2 in line.
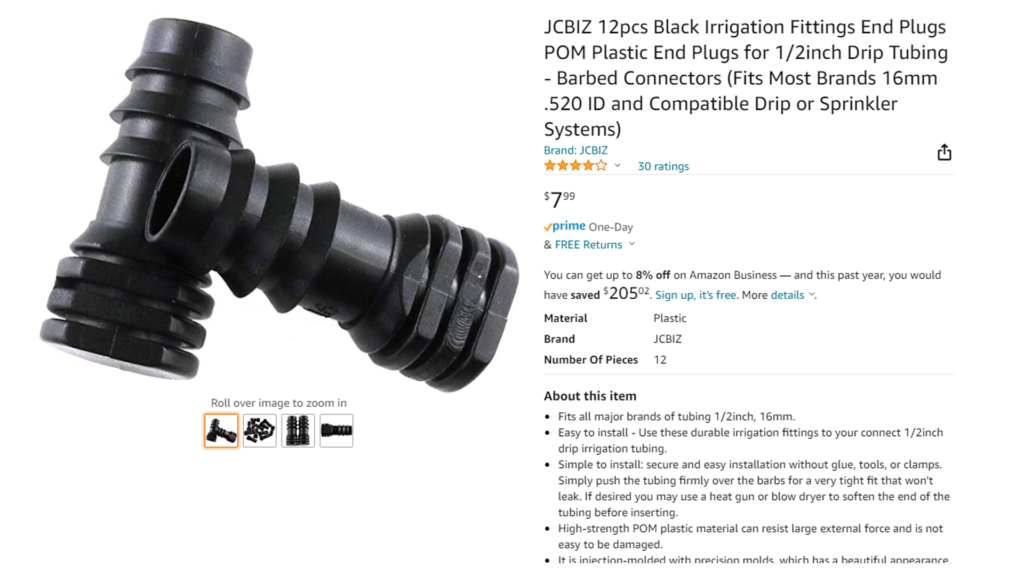
This just plugs into the end of the 1/4 in , otherwise it is just open flow of water. The 1/4 in don’t need a plug, they should all end in an emitter. But depending on how you lay it out, you may also need a T-piece.
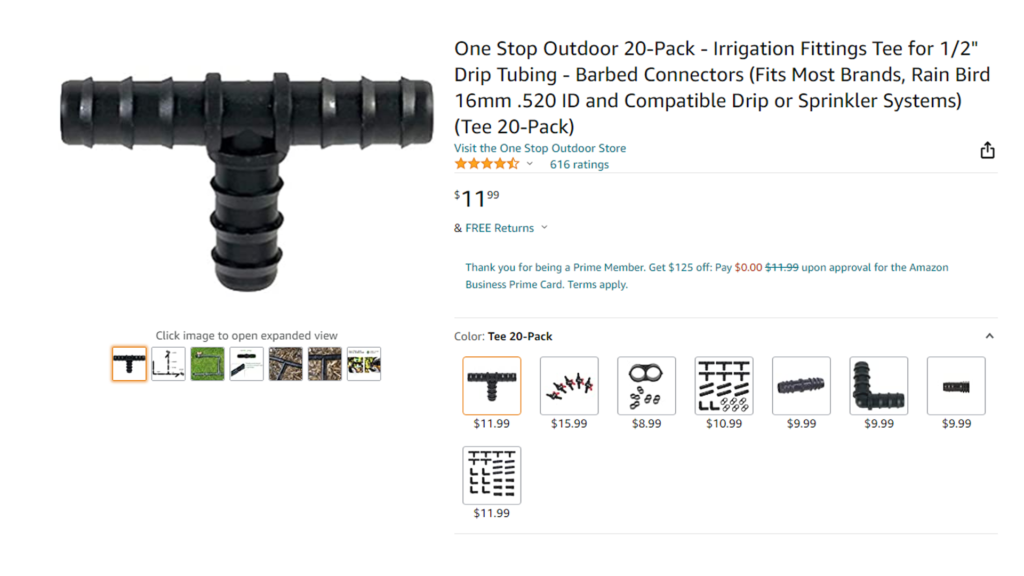
A rule of thumb will be to use as little 1/4 in tube as possible. Just enough to go from main line to plant. This T allows you to connect 1/2 to more 1/2 inch, bringing it across areas like below.
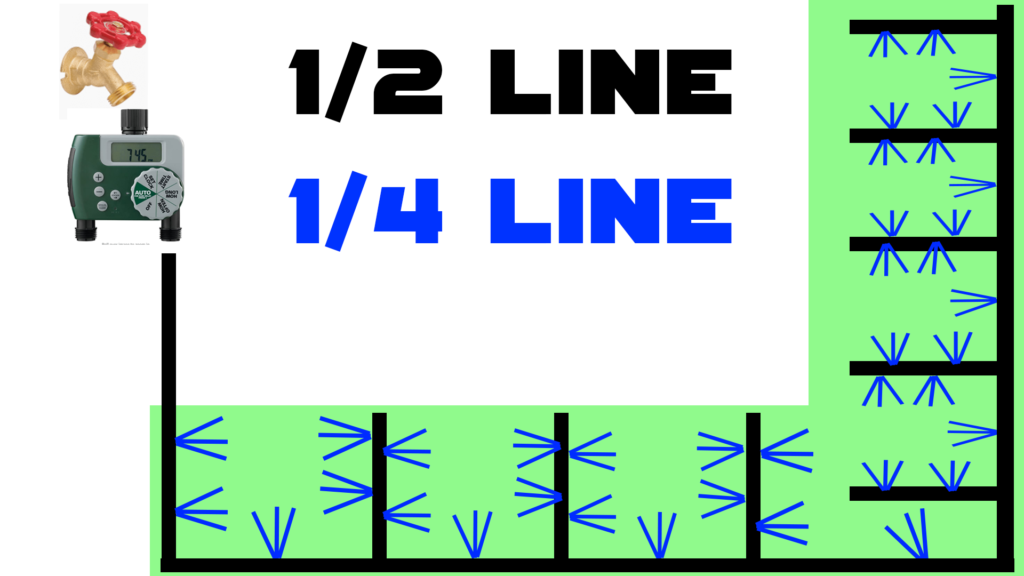
Each of those blue lines could go to individual plants or pots. If you try to draw too much from the 1/4 in line you won’t have enough water going through for everybody. And if you want to change anything, or put a hole in the wrong spot, that connector kit comes with goof plugs which seal it fine.
THINGS TO CONSIDER!
The only thing you have to worry about is the size of the garden. It all comes down to the pressure, which is why you have as much 1/2 as possible, as there is all kinds of interesting but way to complex physics with the friction caused by the water moving leading to it to lose the ability to get enough water out down the line. But we have over 100 plants, with line going over 200 ft on just one of those stations (one line from the timer at the hose faucet). So I would not worry about the pressure too much. I was worried I was expecting too much, but it is all fine with plenty of water coming out at every emitter.
In summary, it really is as easy as it sounds. Set it and forget it, with a ton of other advantages like the ease of repair compared to a traditional sprinkler system.
If you made it this far just give it a try, you will save money by using less water, your plants will actually get watered consistently, automatically, no more coming home from vacation to dead plants, and honestly, it is a lot of fun to set up and see it all in action.
Don’t get overwhelmed! Just follow the steps, and stay drippy.
Links:
Orbit 58910 Programmable Hose Faucet Timer, 2 Outlet, Green: https://amzn.to/3wF88eR
1/2 Inch Drip Irrigation Tubing to Faucet/Garden Hose Adapter: https://amzn.to/3LtmKmC
1/2 in. Supply Tubing : https://www.amazon.com/gp/product/B0007WO8YU/ref=ppx_yo_dt_b_search_asin_title?ie=UTF8&th=1
1/4-Inch Tubing: https://amzn.to/3wykCow
1/4″ Irrigation Fittings Kit: https://amzn.to/3wsSBjq
Drip Irrigation Tubing Hole Punch Tool: https://amzn.to/3wBEp6n
Drip Emitters/Sprayer: https://amzn.to/3PpvKg5
T Connector for 1/2 in : https://amzn.to/3NoE25M
End Plugs: https://amzn.to/3FXG7Di
Raindrip 100050211 Black 016010T 1/4-Inch by 100-Feet Tubing: https://amzn.to/3yHWqCN